Showing posts with label coloring. Show all posts

Wednesday, February 14, 2024

Happy Valentine’s Day!

 Happy Valentine’s Day to all!

I have a few cards to share that fit the theme a little.  What I have been doing when creating is making a card, and then kindof going with a variation on that theme for a few cards.  So I either make a card set, or just use some of the same supplies that are out, or the same colors, etc.  It has helped me to start rebuilding my card stash. 


The pinky red cardstock is lumiere shimmer cardstock.  
Hero Arts Protea Flowers
Hero Arts Eucalyptus Bold Prints background stamp
Technique Junkies Owls
Owl Sentiment is from a very old Club Scrap rubber stamp set, some Scandinavian themed one…

*The Owl Card is getting entered in the Cardz 4 Guys Challenge - Love 
That card went out to a boy!
*The Sympathy Card will be entered in the Blog Named Hero Do You Believe In  Love challenge
*And the first LOVE card with the Swiss Dots embossing
Will be entered into the Unicorn Challenge - Dots and Stripes

Hope you have a wonderful day!
Heidi

Saturday, March 18, 2023

Frilly Flowers Notecard

 Hello from design team member, Heidi.  Today, I could use your help. I don’t know what this flower stamp is.  I have a feeling I should know, but I don’t.  I am pretty sure it isn’t an orange flower, but I really wanted it to be orange, and that is the power of stamping, you can really do as you please. 


I stamped three flowers and colored them with alcohol markers. I fussy cut them out, but I really didn’t feel I needed to be too careful with it.  I then added a bunch of glitter glue to the flower.  It looks so pretty when it dries down on the orange.  

I did a simple arrangement for the flowers over an oval die cut and then added a sentiment strip and die cut butterfly to ground the card together.  The background is a gelli print I had in my stash.  It as made with an embossing folder for the design.


This flower stamp is so affordable and so pretty!  

It is called Flower on Stem at the Blank Page Muse shop.

The sentiment was taken from a large sentiment set called Everyday Phrases, and this one is at the I Brake for Stamps shop.

If you know the flower, or think you might, please comment!  It is one of the things that drives me nuts!

Thanks for visiting today!

You can also find more inspiration at the links below:

The Blank Page Muse- https://blankpagemuse.com/

FB Fan Page- https://www.facebook.com/groups/blankpagemuse/

Instagram Shop- https://www.instagram.com/blankpagemuse/

Instagram Blog- https://www.instagram.com/blankpagemuseblog/

Twitter- https://twitter.com/BlankPageMuse

Pintrest- https://www.pinterest.com/blankpagemuse/boards/

Wednesday, March 8, 2023

Rosy Thank You!

 Hello from design team member, Heidi.  Today I have a pretty thank you card to share.  I like to have a lot of these around because I tend to need a lot at once.


I stamped and colored two of the Rose images and colored them in.  This is such a detailed stamp that it was very easy to color.  I fussy cut them out.

I, then, stamped the Thank You onto some patterned paper.  I also cut an oval window out of white cardstock and embossed it.  

After this all there was left is to assemble the card by using a bit of bright pink cardstock for a mat.  I thought about adding glitter, but in the end left it alone.

The stamps I used are both in the Blank Page Muse shop:

Rose flower with leaves by Terry Sproul

Fancy Thank You stamp (my favorite thank you stamp!)

Coupon code BPMHeidi

The embossing folder is Simon Says Stamp.  The 6x6 Patterned paper pack is called Aquarelle.

You can also find more inspiration at the links below:

The Blank Page Muse- https://blankpagemuse.com/

FB Fan Page- https://www.facebook.com/groups/blankpagemuse/

Instagram Shop- https://www.instagram.com/blankpagemuse/

Instagram Blog- https://www.instagram.com/blankpagemuseblog/

Twitter- https://twitter.com/BlankPageMuse

Pintrest- https://www.pinterest.com/blankpagemuse/boards/

Wednesday, March 1, 2023

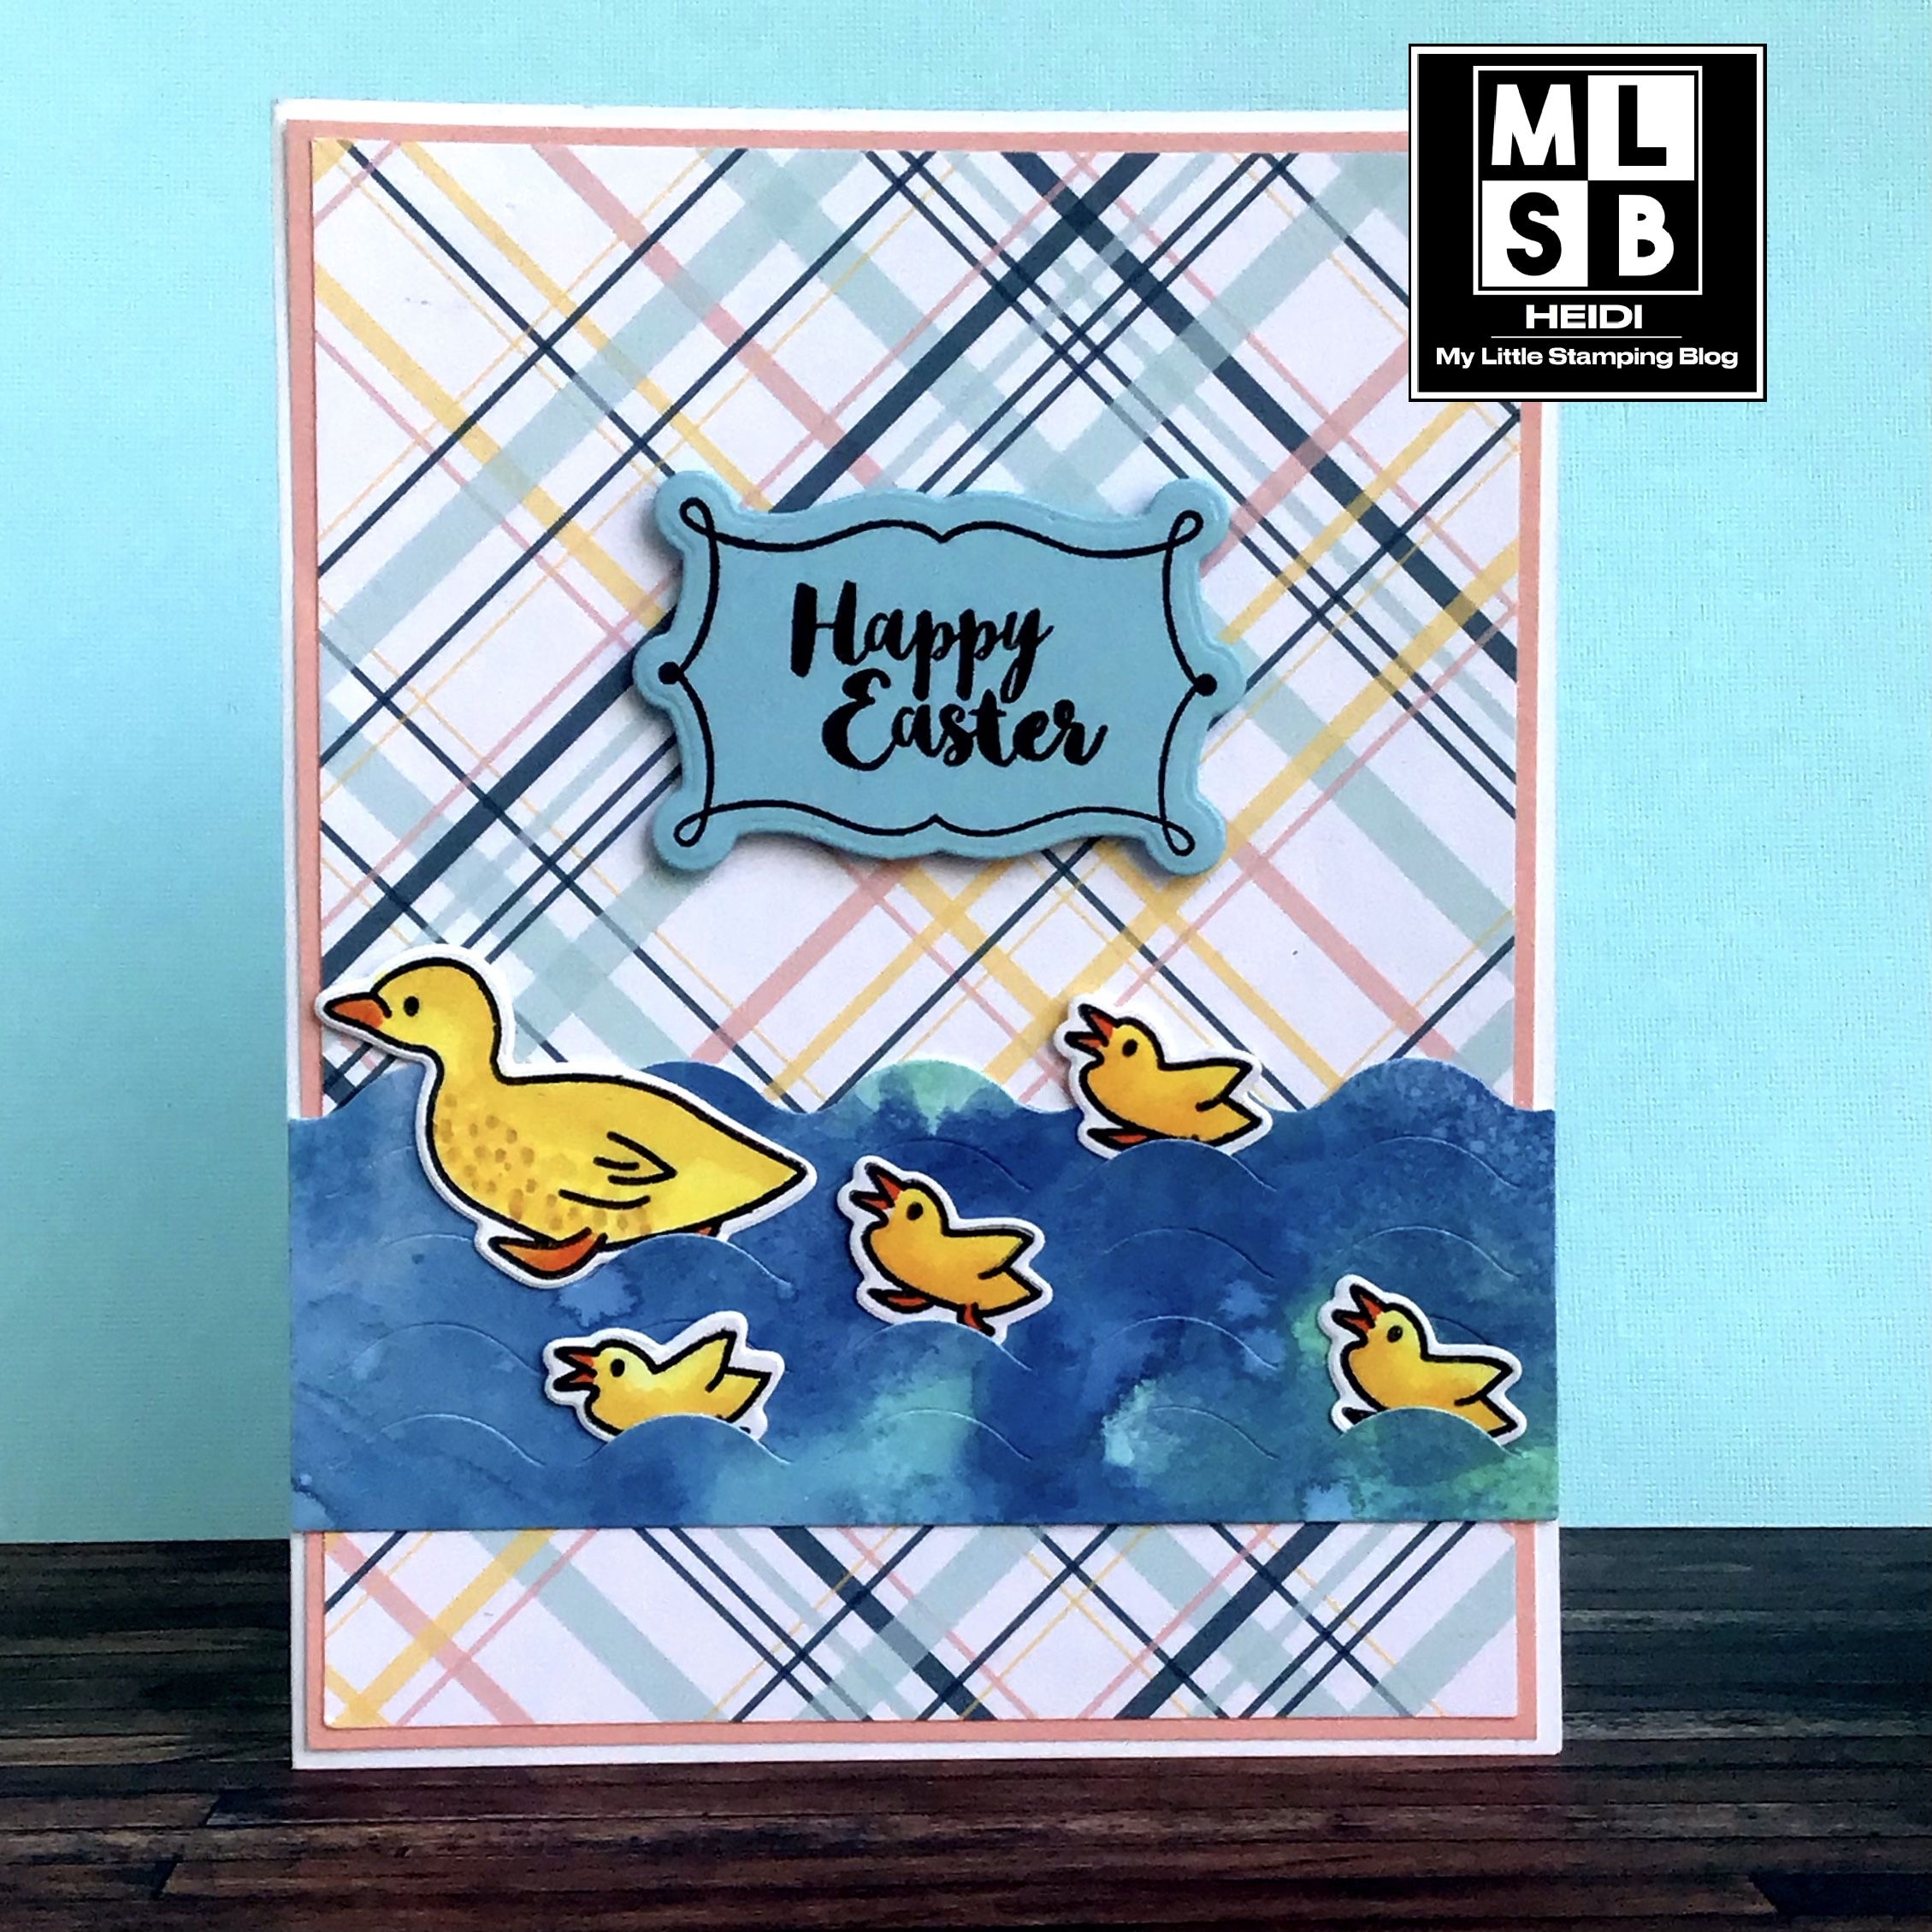
Cleaning My Craft Desk: Happy Easter Duckies

 Hello! Welcome to a new installment of my Cleaning My Craft Desk series!  

Believe it or not, the ducks were colored and die cut, the water was already die cut from a distress oxide background, the patterned paper was already trimmed out to card size.  All I needed to do was stamp and die cut the sentiment, and arrange the card.

And there! I cleaned up part of my craft desk!

I actually think I cut and colored those ducks when this Hero Arts kit came out.  Which was March 2017.  

The other stamps I used here are Art Impressions Sweet Easter set, and Close to My Heart Daisy Meadows.  

Have you cleaned your craft desk lately?

Friday, November 18, 2022

Cozy Kitten Get Well Card

 I adore cats.  And this cat stamp is sooooo sweet!  When I was looking at it, I thought how cozy the kitten looks, and then I decided that the blanket needed to look cozy too.  So I employed one of my favorite techniques, paper piecing!


I had just the right patterned paper that I had hoarded kept for just the right project. 

I first stamped the cat on white cardstock and colored with Tombow markers.  This made it easy to do the tabby shading as I could just go over those a second time with my brown marker to make it just the right amount darker.  (Typically I don’t color a lot with water based markers but in this instance, it works very well.)

Then I layered over the cozy blanket and added my sentiment.  A very easy card!

The stamps I used can be found in the I Brake for Stamps store.

The cat is available in a set called MS110 Full Plate and also as a single stamp, if you prefer.

The sentiment is part of this set called Baubles, Doily and Words.


Thanks for visiting today!

Sunday, February 6, 2022

Gnome Valentine

 Hello everyone. I hope you are staying warm!  It has been a cold winter here!

Hey, I am wondering what challenges everyone is interested in nowadays. I have been doing so little crafting lately that I am out of the loop.  I am totally back now so please drop me a comment if you want to recommend a Cardmaking challenge!

Onto my card, I am trying to work through a number of NBUS items. I probably purchased more stuff during the pandemic than I used.  One of them was this SUPER cute gnomie image from Stampendous.  I decided to color it some sortof vintage shades, which I think works well for Gnomes.  


I fussy cut this image out and put it over the die cut and stenciled background. I just recently purchased these from Honey Bee.  I hadn’t ever used anything from them but I was really happy with my purchase and have more to share in the future.  

Supplies:

Stampendous Gnome Love, Honey Bee Stamps Quilted A2 Cover plate, Honey Bee Quilted Hearts Stencil, Distress Oxide ink, Spectrum Noir markers.

Thank you for visiting!

Thursday, February 3, 2022

Easy Tri-Fold with Bouncing Brayer Technique

Hello everyone! I hope your February is going well!  We are expecting some icy weather tomorrow.  However, this card is all Spring!

This is a card my friend April taught our online stamping group.  It is a fancy fold, and I have to admit that I almost never never never make these.  I don’t know why I assume that they are going to be too hard, but this one, you will see, is so easy!


The backgrounds were made with the Bouncing Brayer technique.  You ink up your brayer with dye inks and then just bounce it along your glossy cardstock.  Just repeat till you get the look you like.  

The stamps are Stampendous Hummingbird Hello and Birthday Wish, colored with pencils.

 In the above photo, I think you can see how you just take off one quarter of a full sheet of cardstock, and the others fold over each other for the Tri-fold.  

Thanks for stopping by!  

Thursday, February 25, 2021

Bird Love Card

 Hello again.  Here is a card that I made with my online stamping group recently on zoom. 

 I thought that the bird stamp (Our Daily Bread Designs) would look cute in a heart die cut.  However, in order to make this fancy fold, I needed the die cut to be longer to get enough adhesive on the card base to secure it.  So I just put a label die cut behind this.  The paper is from Prima.

Here is the view from the side.  This card will fold flat in and envelope, but it does not open up, instead you can write your message on the back, and it stands up very easily to display it.  

Thanks for visiting.  Hope you are ver well.

Thursday, December 10, 2020

Reindeer and Birds Christmas Cards

 Hello!  If you are here, I want to thank you for the time you are taking!  This is such a busy time.  We are back to virtual school temporarily for the surge and that really takes a lot of time, energy and mostly patience.  I don’t fault anyone for this extra burden, it is what it is, and I am confident the kids will catch back up and be more resilient.  

Anyhow, I did have a little time to finish up these two Christmas cards.  I had stamped, colored and cut out a bunch of images from Elizabeth Crafts Reindeer and Birds set previously and I have almost used them all now.

The first card I just love because the reindeer looks so funny and I love this plaid paper from Modascrap.  I added some stamped holly and red rhinestones to finish it off. (I am REALLY low on red rhinestones and need to remember to buy more!)

The second card uses another of my gelli plate prints.  I used some die cut snow hills. You can’t see it but I used my Sakura glitter pen to add sparkle to the edges of the hills.  The sentiment is Power Poppy.

Thank you for visiting! I should have some time later tonight and tomorrow to look at what you have been sharing on your blogs! Have a great day!

Monday, September 7, 2020

House Mouse Back to School Cards

 Hello! I wanted to share the rest of the back to school cards I made.  


These are all done with Stampendous Masked Mice and then several different school stamp sets I have, both from Stampendous and Close to My Heart. I colored all these images with markers and then die cut them, sponging blue ink inside the die.

I did decorate all the insides of the cards too. Here is an example of what I did, although they are all different. I hope these have all made it to the intended students by now, as most kids will go back by tomorrow at the latest.  

I would love to enter Dies R Us Back to School challenge, Cute Card Thursday’s Anything Goes and Word Art Wednesday’s Anything Goes challenge.

Thanks for visiting!  

Thursday, May 28, 2020

Funny Giraffe Kid Birthday Card

I need a few kids cards soon, so I thought I would give this funny giraffe image from Mostly Mice Sheet a try!  


I colored the image with markers and cut it out.  I then popped it up over a background I did with a stencil. Then, I used a fun stamp for the birthday sentiment from this set.  I had some enamel embellishments in the shapes of arrows and I thought that would be a fun addition for a tween card.  I’m pretty happy with how this turned out.

(As always, save 10% on your entire order at the I Brake for Stamps store with my code SAVE10HEIDI)

Have a wonderful day and keep on stamping!

Heidi 

Thursday, May 7, 2020

Masculine Duck Card

Hello! Coming here with a masculine card to share today!  This is the time of year I start looking for baby ducks in the local ponds, lakes and waterways.  They are fun to watch.  Thinking of that made me want to use this fantastic duck scene, called Mallards.


I colored this with markers, but I was thinking as I went along that it would be a good stamp for an easy, loose watercolor look, also.  I used some neat, outdoorsy papers for the background.  I have a lot of male relatives that would like this for a birthday card, but I left the sentiment off, just in case I need to use it for a thank you instead.

You can use my code SAVE10HEIDI to save 10% off your order at the I Brake for Stamps store.

Thank you for visiting today!  Keep on stamping!

I’d love to enter SimonSaysStamp Wednesday Challenge - Use Dies or Punches and WordArtWednesday’s Anything Goes challenge.

Sunday, May 3, 2020

Punch Texture Background

Hello!  In my stamping group, we were challenged to use punches to get a texture on our background.  I don’t have a lot of punches anymore, so I went for the simple circle. 

I found a color of cardstock, several small pieces, and cut as many circles as I could. I then glued them over another scrap of turquoise cardstock.  I really like the crisp look of this!


I then stamped and colored this cute critter. I don’t buy many Stampin Up stamps, but I had been admiring this set for a while, and when I saw it was being retired, I bought it.  I am a sucker for the storybook look stamps.  The sentiment is CTMH Wordfetti.

I want to try this again in white so the texture is more apparent.

I would love to enter Pixie’s Crafty Workshop Anything Goes (with snippets) challenge, Word Art Wednesday Anything Goes Challenge, SimonSaysStamp’s Wednesday Challenge Anything Goes.

Thank you for visiting today!  Hope you have a lovely Sunday and week to come!


Wednesday, March 25, 2020

Nautical Card Set

Hello!  I have a set of 3 cards that were easy to put together. The Mojo Monday sketch challenge this time is a special one that turns your 2 sheets of patterned paper into 3 cards.  The cut guide and sketches are here.  


I decided that I would use stamps from I Brake for Stamps By the Sea Rubber Sheet.  This is a really great set of stamps! These were made in a pretty straightforward way, the only one that requires some explanation is the fish.  I had some dendritic paintings in my stash. (This link shows an introduction to the kind of painting.)   I stamped the fish over top of this with Staz On ink and fussy cut him out.  I had used some lumiere paint that I thought looked shiny like scales.


Thank you for visiting today! Stay well and keep on stamping!

Sunday, March 15, 2020

Christmas Cardinal Handmade Card

I am having a hard time focusing. Maybe you are too?

 I was cleaning my craft desk yesterday and was thinking of the reports that all paper supplies and essentials are sold out.  I thought of the baby wipes and paper towels I usually use when crafting. I decided to cut some older towels into pieces to use instead, to do my part in decreasing the demand.  (And they are working well!)

I know all business, especially small businesses, are under extreme pressures.  Some of them that close do not know if they will be able to reopen.  I am not going to break the bank, but I am going to try to make a small stamp order.


So, I finally have a card to share with you!  Almost the entire card is made from bits and pieces from either my scrap box or half-done items box.  The cardinal was previously colored with colored pencils.

I’d love to enter Pixie’s Crafty Workshop’s Snippets challenge, WordArtWednesday’s Anything Goes challenge, SimonSaysStamp’s Monday Challenge Bit O Green

Thinking of you all during this difficult time.  If you are in an affected area, please flatten the curve by eliminating all non-essential errands.

Stamp on!

Christmas Card Goal to Date 2020: 15
Christmas cards completed: 13

Saturday, February 15, 2020

You’re So Loved Handmade Card

Hello!  A quick share today for a challenge.


House Mouse Challenge has an optional theme of Love/Valentines, and since Valentine’s Day is in the past, I decided to go with this You’re So Loved sentiment.  The mouse image is called She Loves Me, reminiscent of that game where you tear off the flower petals.

I kept this card flat, as I often try to do, for easier mailing.

Thanks for visiting!

Friday, February 14, 2020

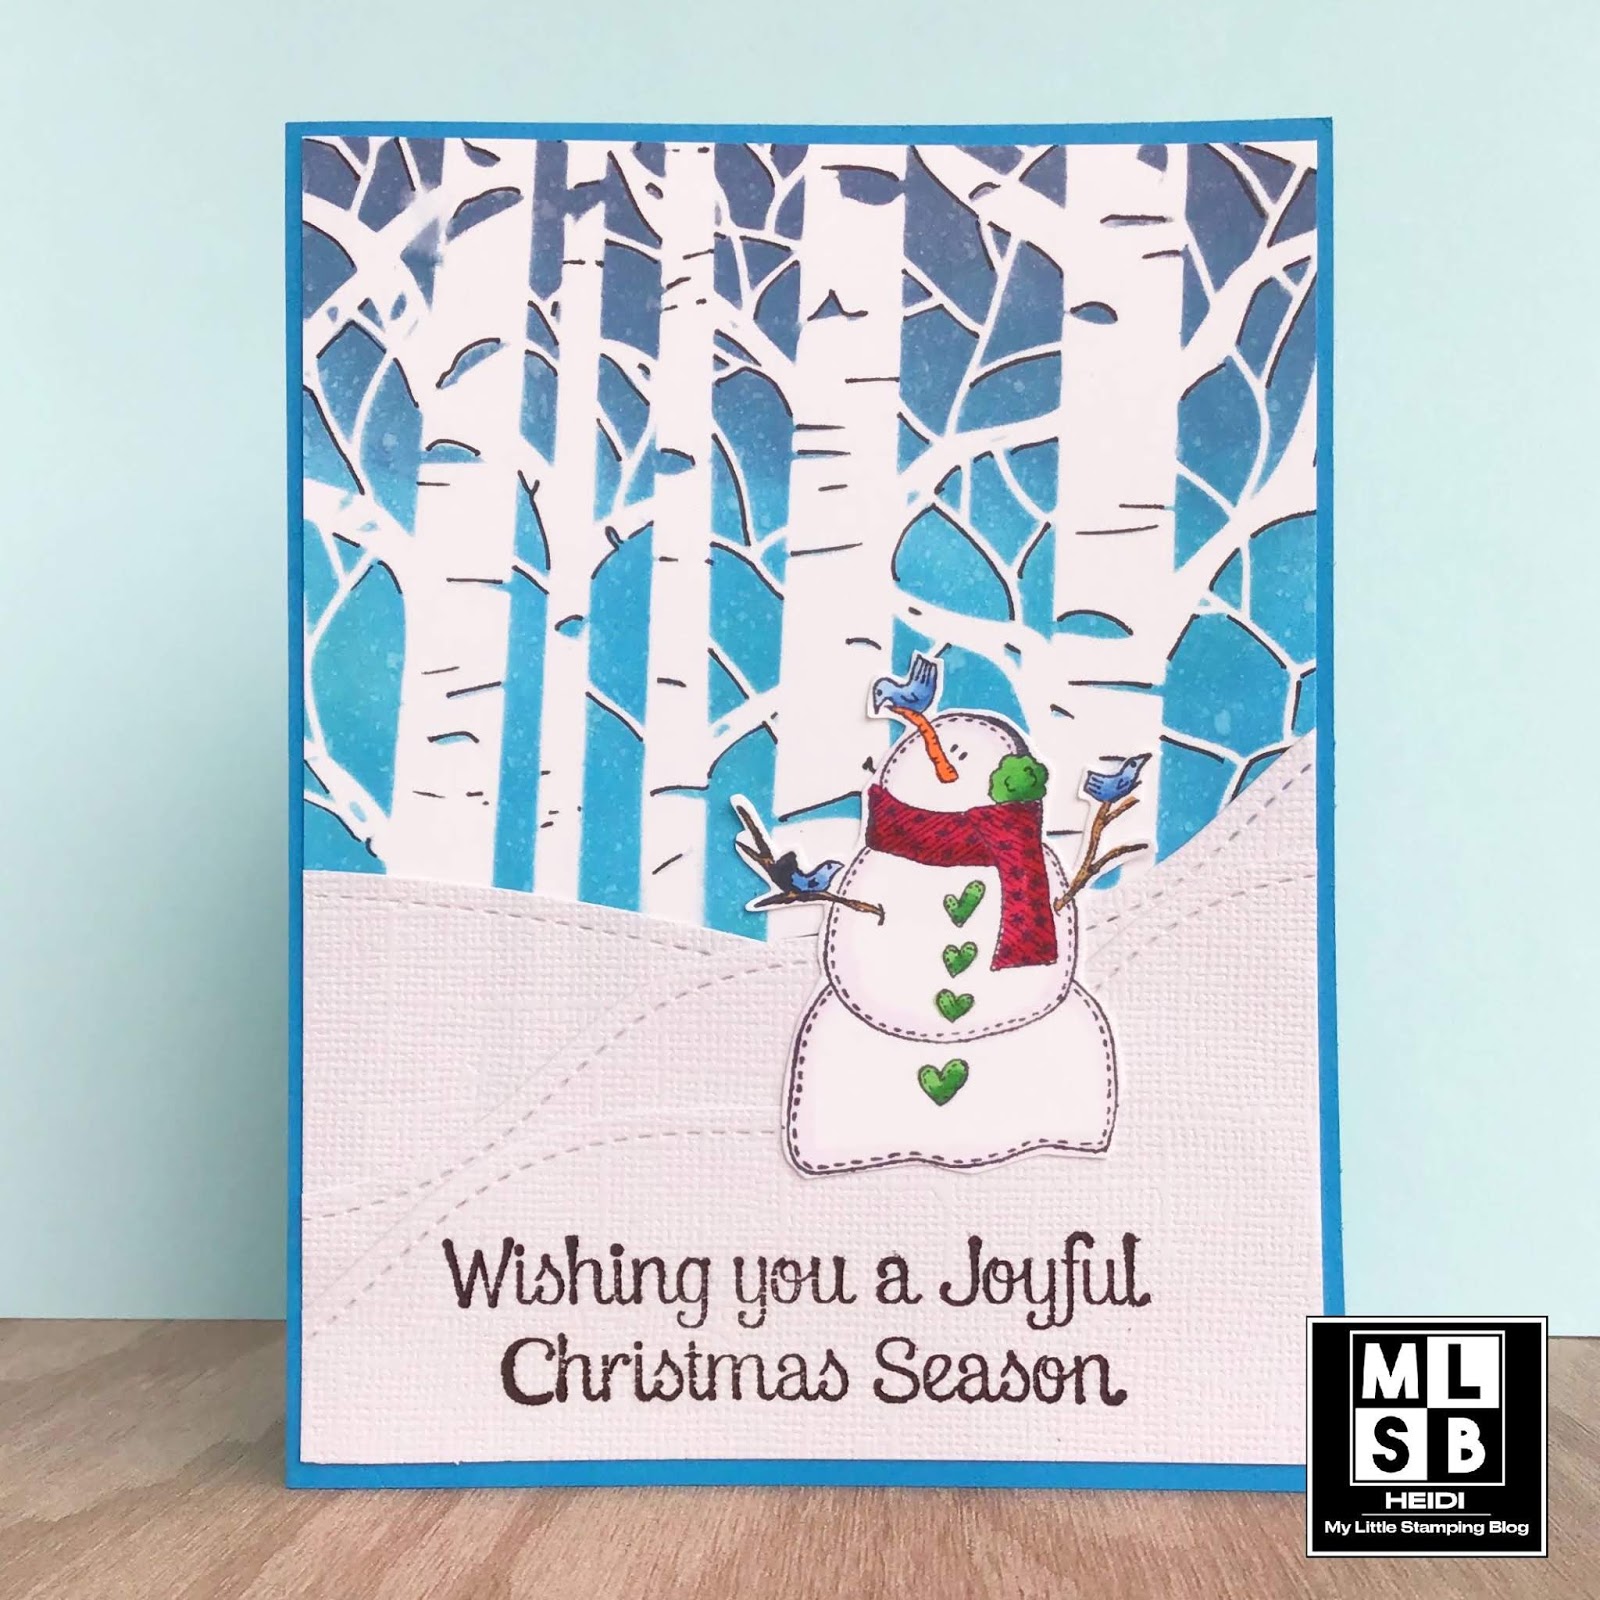
Snowman Christmas card with Stenciled Background

Hello! I know it is Valentine’s Day but I am here with a new Christmas card for 2020.  I have used the same stenciling technique to add depth as this post, but with a different style stencil.


The stencil was inked with a few colors of blue Distress Oxide inks (I think it was Faded Jeans and Peacock Feathers) and with the stencil still in place, I spritzed it with water to get the look of snowfall. Use a fine tip black marker, I added depth and shadows throughout the entire background.

I created snow hills with Frantic Stamper dies and textured white cardstock and added this sweet country snowman from Deep Red stamp to finish my scene.  The sentiment is from a very old Hero Arts set. 

Thanks for stopping by!

2020 Christmas Card Goal to Date: 10
2020 Christmas Cards finished: 6

Thursday, February 6, 2020

Love You Bunches - Stenciled Background Technique

Hello!  In my online stamping group, we do several “fests” each year where we have challenges. It is always a very creative time, and I plan to share some of the cards I create here on my blog too.

One of the challenges was to use this ingenious Stenciling technique by my stamping friend Beth.  She did a nice tutorial here on How to Add Depth to your Stencils.


I used an older Plaid stencil and used 3 Distress Oxide colors and tried to blend them as best I could. I added black pen marks and tried to be consistent as to where the light source would be, although I know I need to work on that.  

I simply finished off the card with this cute stamp, colored with markers, and adding some glitter glue  Nuvo drops accents to the bouquet. 

I like that I could use this card for Valentines, Birthdays or even a Get well.  


I would love to enter Penny Black’s Saturday Challenge - Anything Goes/Optional Love is in the Air challenge, SimonSaysStamp’s Monday Challenge Floral Frenzy.

Supplies: Penny Black Good Day Stamp set, Plaid Stencil, Distress Oxide inks Peacock Feathers, Picked Raspberry, Squeezed Lemonade, other items from my stash.

Here is the background alone, and the other one I made (a little preview of a card coming up soon!)


Thank you for visiting today!

Saturday, February 1, 2020

House Mouse Strawberry Card

Hello!  Just a quick share of this card made with such a sweet image.  I think mice (that are not in my house) are really cute.


I colored the image, House Mouse Sleeping with Strawberries, with markers and added white gel pen on the seeds. I simply cut it out with a Gina Marie Wonky Stitch Oval die and put over some patterned paper.  The sentiment and banner is from Close to My Heart.

I would love to enter House Mouse’s Anything Goes challenge, SimonSaysStamp’s Wednesday Anything Goes challenge and WordArtWednesday’s Anything Goes challenge.


Are you crafting this weekend?  I hope you have a really good one!

Wednesday, January 29, 2020

Who Loves You? - Owl Valentine

Hello all! I wanted to sneak in a post today to enter some challenges.  I had half of an idea on how to use this owl (which is actually from a Halloween set) with some other products in my stash to make a Valentine.  The rest of the idea came to me this morning.  


I die cut a heart in my pink cardstock and then embossed it with a woodgrain folder. I used a tan inkpad direct-to-paper to bring out the embossing.  I used some foiled pattered paper behind this, and then nestled my owl right in there.  


The inside of the card has a sentiment that I stamped out with an alphabet set.  

I think I know just the little girl to send this to.  

I’d love to enter Art Impressions Shades of Pink Challenge, ModSquad Challenge Animal Stamps, and SimonSaysStamp’s Wednesday Challenge - Anything Goes

Supplies:  Art Impressions SC0735 Fright Night stamp and die set, Hero Arts Log Letters and Numbers alphabet stamp set,  Sizzix Thinlets Sentiment words dies, Firefly Hearts die set, Darice Woodgrain Embossing folder, Hero Arts Soft Sand ink, Gina K Dark Chocolate ink