Showing posts with label stenciling. Show all posts

Thursday, February 8, 2024

Various Valentines

 Hello again!  I have been busy doing Valentines so that I can send them out on time. 

Here are a few that I made using mostly Spellbinders club items.  


This first card was easy.  I just embossed the pink cardstock and rubbed gold pigment ink over it.  The matting is also pretty gold paper. Simple but I like it! The sentiment is from Close to My Heart.


The second card was also fun!  It also uses the same 3D embossing folder (1 folder but two patterns) but then I used my old Pebbles Shimmery Chalks to go over the flower. I haven’t used them in a while but I know I will never get rid of them since they are so easy to use!  The stamp is from Power Poppy.


This last one is from a layering stencil.  This was really fun to do.  The sentiment is from Hero Arts. I have found that I have VERY few Valentines sentiments and so I will probably shop for some more before next year.  

I would love to enter SimonSaysStamp’s Wednesday Challenge: Love is In the Air!


Tuesday, April 18, 2023

Birthday Card with Stencil Butters

 Today I would like to share a card that is primarily stenciling.  I used two colors of stencil butter, which are found in the Blank Page Muse shop.  The ones I used are the pearl ones, and they are just sooooooo pretty!  The photos do not do this justice - it was so hard to capture!


I just randomly applied the two colors stencil butter over the stencil to cover the stencil, and then when I scraped off the excess, they blended and mixed to get a really pretty look.  The base for this was the silver glitter alcohol ink cardstock.  It does hold up well to stencil butter.

I didn’t want to cover up any of the pretty stencil, so I used a fun circle sentiment over top, matted the card in the same color turquoise cardstock, and called the card complete.

If you haven’t had a chance to try these stencil butters, they are really a lot of fun, and easy and smooth to use.  Thanks for visiting today!

The products I used in this card are:

The Crafters Workship Wave 6x6 stencil

Turquoise Stencil Butter

Denim Stencil Butter

I Brake for Stamps sentiment from Thinking, Happy, Get Well, Thanks set

Use my affiliate code for 15% off!  BPMHeidi

You can also find more inspiration at the links below:

The Blank Page Muse- https://blankpagemuse.com/

FB Fan Page- https://www.facebook.com/groups/blankpagemuse/

Instagram Shop- https://www.instagram.com/blankpagemuse/

Instagram Blog- https://www.instagram.com/blankpagemuseblog/

Twitter- https://twitter.com/BlankPageMuse

Pintrest- https://www.pinterest.com/blankpagemuse/boards/


Friday, September 30, 2022

More stencil butters!

  Hello again!

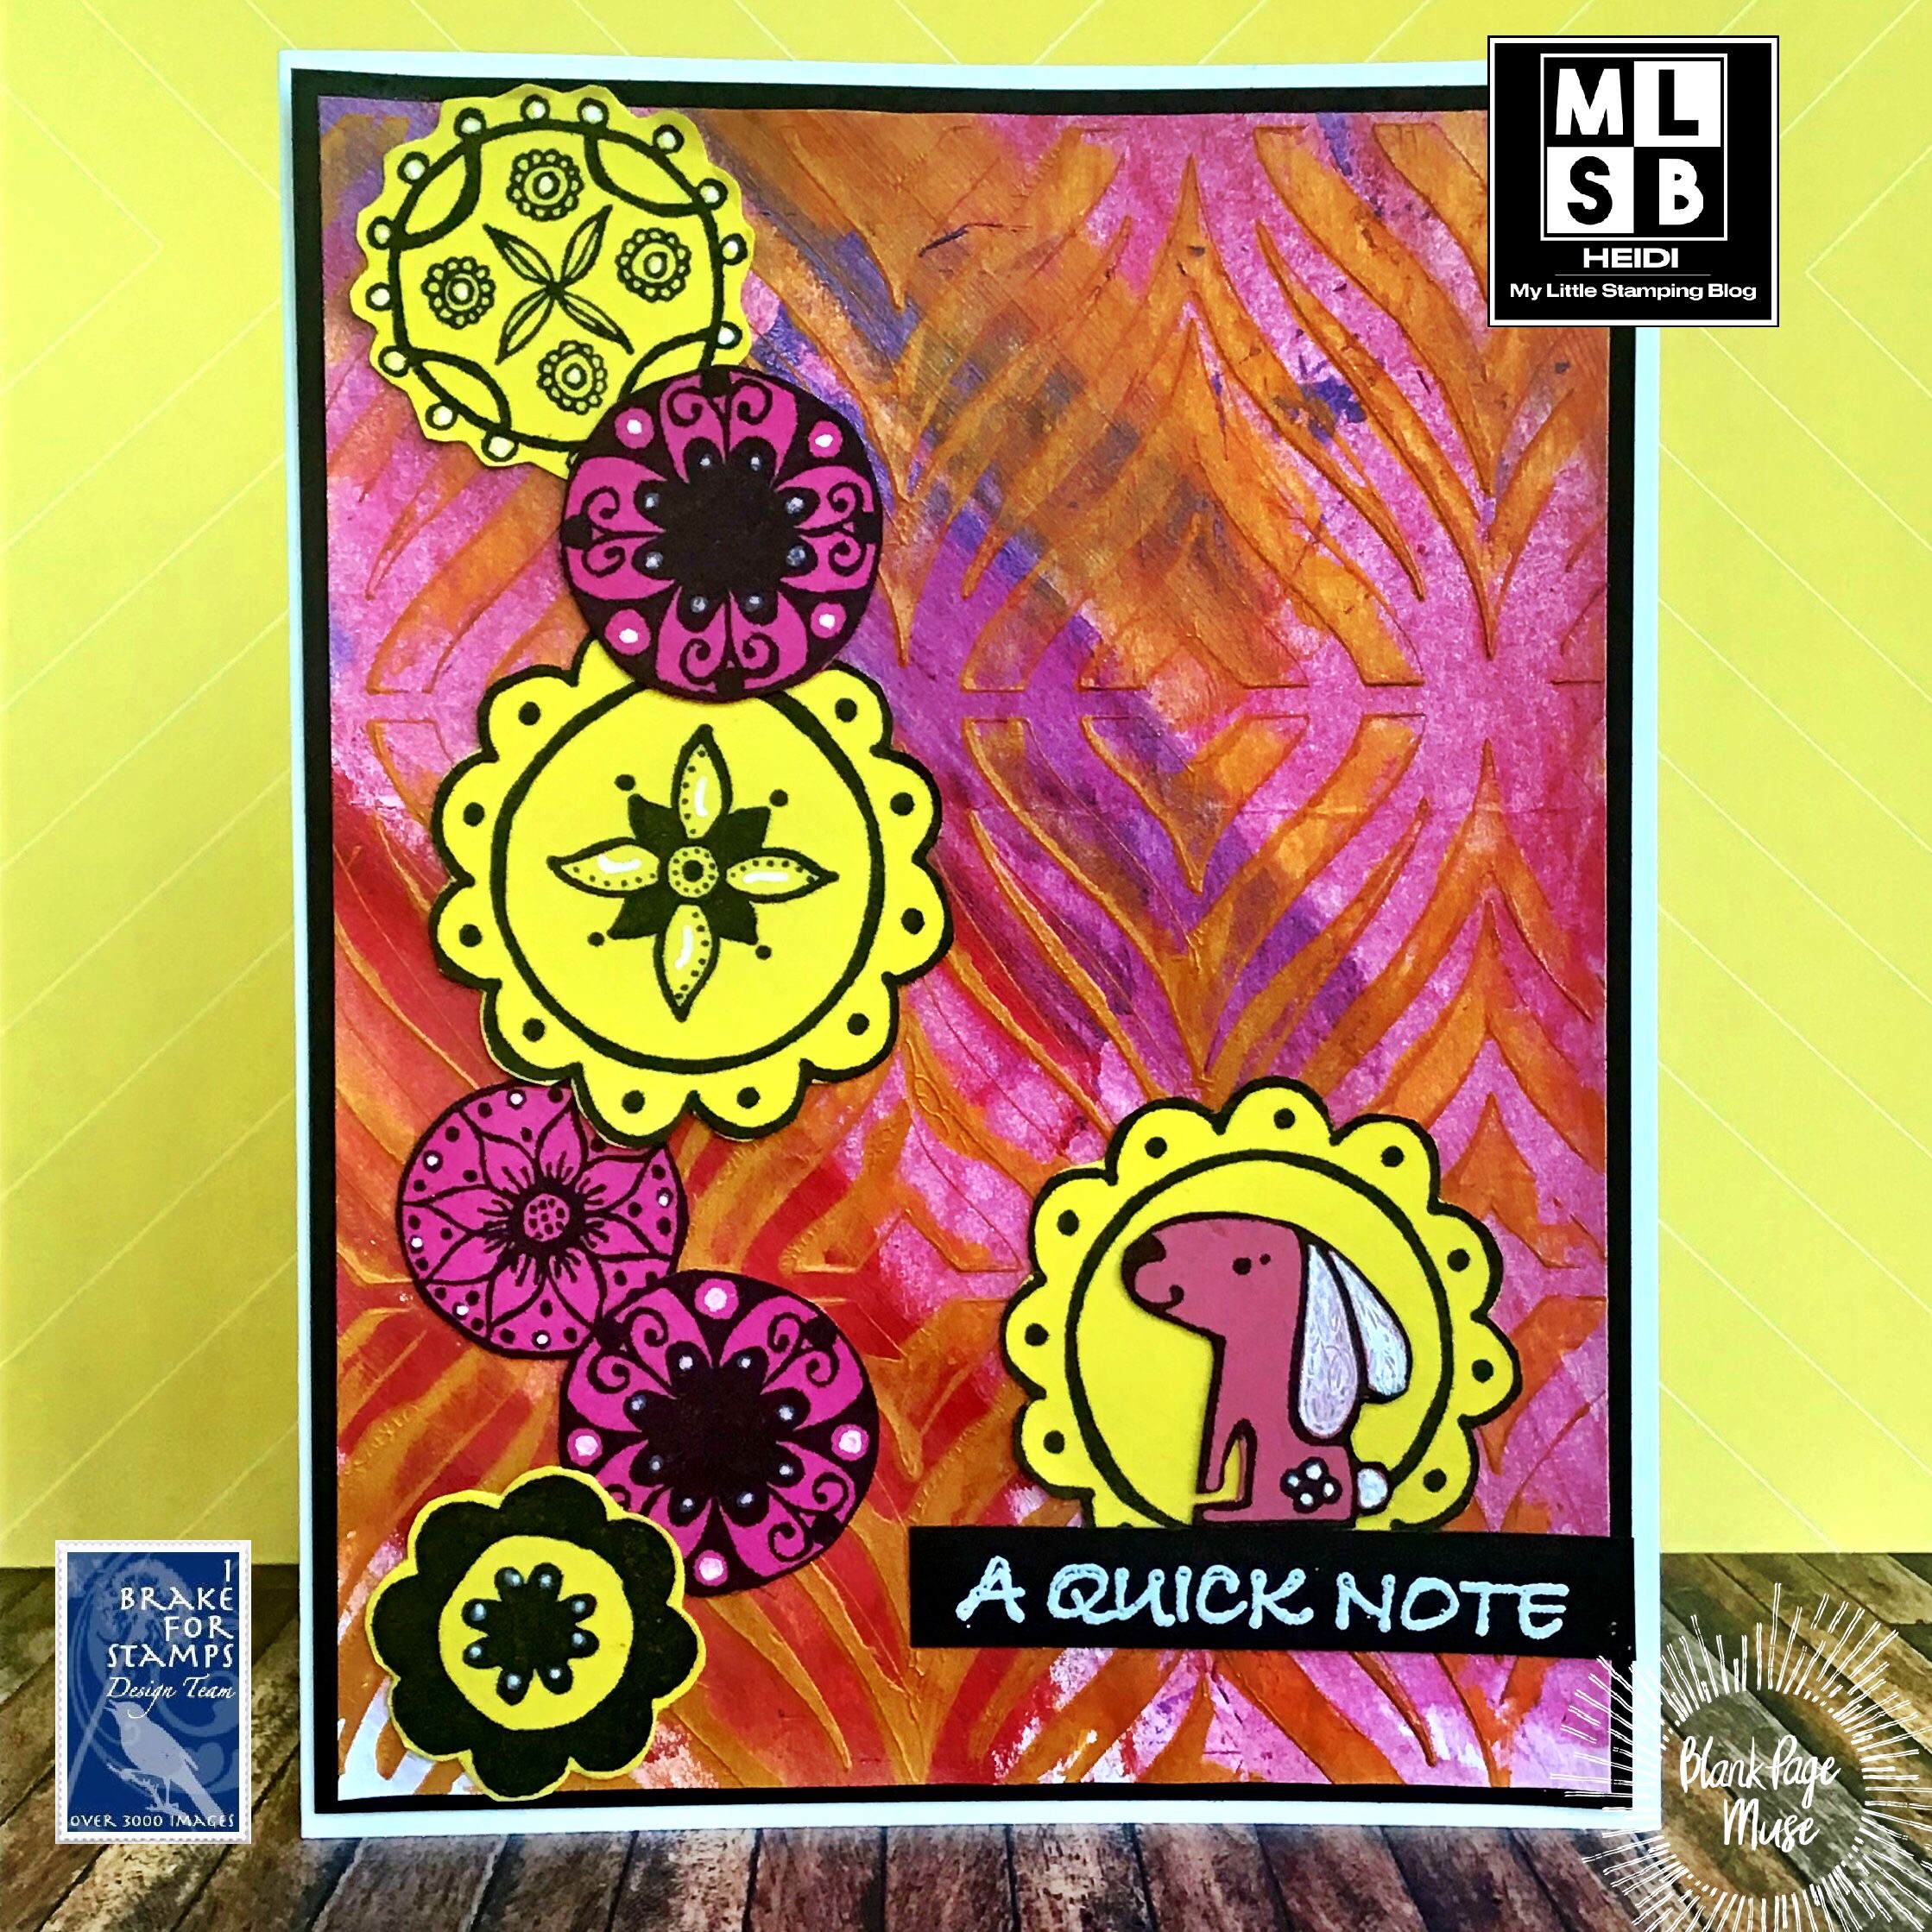
I am making more projects with the Stencil Butters that are available in the Blank Page Muse store.  Part of this post will be me playing around with them and then I will use a couple of the backgrounds for projects.  

The first thing I did was to stencil over some of the Pam Bray patterned papers.  These papers are definitely thick enough to stand up to the stencil paste.  I really liked the nice opaque coverage. 


I then stenciled some of the apricot colored paste of the paper bag my order came in.  I messed up and a bunch got under the edge of the stencil.  So I went over it again with a metallic gold paste.  This one looks really cool in person and I plan to use it!


As I was going along, I randomly was using some excess paste onto scrap paper (this is the back of an order sheet, so just regular copy paper).  It was looking like this in the end, so I decided to thin out some of the red paste and just paint over the top. (This is one of the neat things about the paste, you can watercolor with it!) I wiped the excess off with a wipe and the parts that were dry resisted the paint and I think this is the coolest background.  You can see the result in the finished piece below.


The top piece is a home decor item that I finished using Ephemera from Pam Bray’s Masquerade line

The stamps for the finished card are from the Woodland Stamp set and Petals and Flowers stamp set, both in the Blank Page Muse shop.

(You can use my code BPMHeidi to save on your order!)


I hope this gave you and idea of some different ways to use your stencil butters!  I will be back with more ideas another day.  Right now, I ‘d better go clean off my craft desk!  Have a great day!


You can also find more inspiration at the links below:

The Blank Page Muse- https://blankpagemuse.com/

FB Fan Page- https://www.facebook.com/groups/blankpagemuse/

Instagram Shop- https://www.instagram.com/blankpagemuse/

Instagram Blog- https://www.instagram.com/blankpagemuseblog/

Twitter- https://twitter.com/BlankPageMuse

Pintrest- https://www.pinterest.com/blankpagemuse/boards/

Thursday, September 8, 2022

Stencil Butters and Cute Monster Cards

 Hello!

 Blank Page Muse is now selling The Crafter’s Workshop Stencil butters!  Kim sent me a few to try and I want to show you how much fun they are!  

(Spoiler alert, when I got done playing with the ones I was sent, I immediately placed an order for more colors on my own dime! They are fun!)

The neat thing about these is that you can use them like a smooth modeling paste over stencils, they are nice and opaque!  But you can also use some water on a brush and get a watery look with them too.  So with one paste you can get two looks.  They also come in shimmers and non-shimmers (just take a look on the website at the close up photo and it is obvious which are which).  I think I like the shimmers better but can see how the flat ones would work better in many project types.


The two easiest things to do with these is to apply them over stencils.  If you don’t want to use a lot of product, go ahead and apply it over your stencil with your fingers. This seems to use a lot less than if you used a palette knife and it dries the fastest!   Above, I applied it over textured cardstock, which looks so neat! I loved the tone on tone look there too!


Second, I blended two colors over a stencil.  This time, I didn’t want to get my fingers dirty so I applied it with a baby wipe.  This technique is a little different because more product builds up on the edge of the stencil opening and then more wipes off in the centers of the design so you get more texture.  They blend really well too.


I finished these cards with two of my favorite monsters in the Carmen Medlin designs which is part of the I Brake for Stamps shoppe.  I love these guys because I can literally color them any color and they always look cute!

Monster Mash Set

Clueless Stamp set

Stencil Butters in the Blank Page Muse shop

My affiliate code to save 15% is BPMHeidi.  I am not sure if this works on the stencil butters or not but it does work in both shops!

Thanks for visiting!  Hope you have a crafty day!


You can also find more inspiration at the links below:

The Blank Page Muse- https://blankpagemuse.com/

FB Fan Page- https://www.facebook.com/groups/blankpagemuse/

Instagram Shop- https://www.instagram.com/blankpagemuse/

Instagram Blog- https://www.instagram.com/blankpagemuseblog/

Twitter- https://twitter.com/BlankPageMuse

Pintrest- https://www.pinterest.com/blankpagemuse/boards/

Thursday, February 10, 2022

Tiny Roses Valentine

 Hello again! I have a pretty Valentine to share today using a bunch of NBUS items.  

I just got this quilt die from Honey Bee. I love it, it is so cute, and they also had some matching stencils, so I used the heart one here with some pink Oxide ink.


I had a bunch of circles cut from glossy card, so I decided to use my peg stamps on it.  I used all dye inks and although you have to be a little careful when you are stamping (that your stamps don’t slide around) it is really worth it because the way the dye ink dries, you get natural depth to the stamping. I think you can see how the leaves are darker in the centers.  

The products I used:

Rubber Stamp Tapestry Secret Garden peg stamp set

Honey Bee stamps Quilted A2 Cover plate

Honey Bee stamps Quilted Hearts stencil

Sentiment from a Close to My Heart set


Thanks for stopping by today!

Tuesday, October 12, 2021

Happy Happy Birthday!

 Hello again!  Today, I have this bright birthday card!  I already sent this one out.  October has a lot of birthdays in my family!


The background was an idea from my stamping group.  You stencil on glossy cardstock and then stamp a background over top. I can’t tell you how fun it is to stencil on glossy.  It makes such an impact!

I finished it off simply, and those stars?  I think they are from one of those packs of adhesive foam shapes for kid crafts.  They work really well on cards though. I only have a few left.  

Supplies: Hero Arts Number Pattern Background stamp, Hero Arts You’re So Kind set, Balzar Designs Mini Chevron Stencil

Thank you so much for visiting today!

Thursday, September 24, 2020

Clean and Simple Fall

 Hello!  I feel like I am mostly making clean and simple cards recently, and I think that is the time crunch I am constantly feeling.  It’s funny because other times I have really struggle if I tried to make one C&S.

 I am enjoying the lovely season of Autumn!  The weather is so nice this year.  

This card was created by first using gold texture paste through a stencil. I just eyeballed that it was a rough circle.  

Then I heat embossed my Stamptangle leaf from Just for Fun onto watercolor paper. I used water based markers to randomly add fall colors, then I used a water brush to blend.  I fussy cut this out and popped it up over the embossing.

I would love to enter this in ModSquad Autumn Foliage Challenge, Retro Rubber’s Anything Goes challenge (this stamp is a couple years old, and the company is out of business), and WordArtWednesday’s Anything Goes challenge.

Thank you for visiting today!  

Wednesday, April 22, 2020

Spring Bird Cards

Hello!  We have been having such a lovely spring.  I have been watching outside my kitchen window as the birds are gathering nesting material, and I have seen larger birds, like crows, flying around carrying large sticks.  This made me think of a set of my favorite bird stamps.


I first made my backgrounds with a stencil and three colors of distress ink.  I found this pretty pastel blue cardstock and decided to stamp my images in dark brown ink.  I did some sponging with brown distress ink but otherwise left these simply stamped. I am quite pleased with these cards.  They will be part of the package of cards I send to the local assisted living center, as they shelter in place.  


These stamps are all from I Brake for Stamps Birds Stamp Sheet 141A (save 10% using my code SAVE10HEIDI), A Colorful Life Designs stencil, Distress Inks Tumbled Glass, Broken China and Vintage photo, Gina K Dark Chocolate Iink.

I’d love to enter Mod Squad Challenge Blog Bird Challenge and Word Art Wednesday Anything Goes challenge.

Thank you for visiting the blog today!  Happy Stamping!

Tuesday, April 14, 2020

Clean and Simple Turtle Birthday Card

Hello Stampers! I do hope you are doing well!


I have a clean and simple card design to share with you today.  The world may be more complicated now, but people are still having birthdays and I have several cards to send out in the next week or so.  I think this one will work for men, as well as women.  


To create this card, I sponged light blue ink on the left of my card front, then put a wave stencil over this and sponged darker blue inks over the stencil.  I stamped, colored and cut out my sea turtle and popped him up on the panel.  The sentiment was stamped underneath.  

This really didn’t take long at all, and I am quite happy with how it turned out!  

These stamps are part of I Brake for Stamp’s By the Sea Rubber Sheet. It is an awesome set! (Use my coupon code SAVE10HEIDI to save 10% off your order at the IBFS Store.)  The stencil is from A Colorful Life Designs. I used Distress inks for sponging, and colored with Spectrum Noir alcohol markers.  

Thank you for visiting today!  I have been nearly completely absent from blogging and creating for almost two weeks now.  I hope to get back into a routine that includes creating and visiting you!


Wednesday, December 4, 2019

Glittery Snow Card

Snowmen are one of those stamps where you can have a bunch, but they all seem to have their own personality.  I just adore this one, called Snowman with Lantern


I made my background with Bo Bunny glitter paste and a stencil.  It looks lovely on any color of cardstock, but it looks especially nice on black.  I colored and fussy cut out the snowman, and placed him over a couple die-cut snow hills. I added a little flocking to the snowman’s hat. 

The sentiment is from Christmas Tree Collage quarter sheet. This card is still flat for easy mailing.  

These stamps are available at the I Brake for Stamps store, where you can use my coupon code SAVE10HEIDI to get 10% off your entire order.  


Thanks for visiting!  Happy Stamping!

Wednesday, November 27, 2019

Stenciled Sympathy

Thanks for your visit today.  I made two of these sympathy cards, as I had a need for them.  


I simply stenciled over the left side of my card panel and then stamped the silhouette over top.  I then coordinated the inside of the card by just using a lighter touch over my stencil, and stamping my favorite Sympathy sentiment.  


These stamps can be purchased in the I Brake for Stamps store. The foxglove image is part of a new stamp set in the store, available as Unmounted rubber (with an attractive price), or it is also available separately.
Use my coupon code SAVE10HEIDI to save 10% off your entire order.

Supplies: Mostly Florals unmounted stamp sheet, Foxglove Silhouette stamp, Memories Comfort You sentiment, Quarter Sheet Dahlia (outside sentiment), Recollections stencil, Distress ink in Broken China and Mowed Lawn, Versafine Onyx Black ink. 

Thanks for visiting today!  I hope my readers in the USA have a Blessed Thanksgiving tomorrow!

Saturday, September 14, 2019

Crazy Cat Halloween Card

I hope everyone is having a nice weekend!  Our weather seems fall-like today!  I made this Halloween card earlier, but haven’t shared it here yet.


Supplies:  Stampers Anonymous/Tim Holtz Crazy Cats, Stampendous Bring to Life stamp set, Spectrum Noir alcohol markers, Memento and Versafine Black inks, The Crafter’s Workshop stencil, Distress Oxide Black soot for stenciling, other items from my stash.

I’d like to enter this in the SimonSaysStamp’s Monday Challenge -Stamp It, and Crafting By Designs September Anything Goes.

Thanks for your visit today!  Are you crafting this weekend? I am really hoping to get some in, but we have a pretty busy schedule!

Wednesday, August 28, 2019

Giraffes - Non-Traditional Baby Card

Hello!  I just received this wonderful set of stamps called Half Sheet 138B and I had to immediately use the wonderful giraffe images. 


I started by stenciling over some yellow textured cardstock with Distress Oxide inks. I used Fired Brick in the center, and then blended out with Carved Pumpkin and finally Fossilized Amber on the outside.  

I think this detail photo shows how pretty it turned out!


I then used Vintage Photo Distress Oxide ink to stamp the images right over top.  Since I was stamping on textured cardstock, I used my stamping platform to stamp twice.  After die cutting the panel, I added this sweet sentiment. I think I am going to use this for non-traditional a baby card.

Here is the entire stamp set. I can’t wait to use the other images!  If you place an order with I Brake for Stamps, use my coupon code SAVE10HEIDI to save 10% on your entire order. 


Thanks for visiting! Happy Stamping!

Friday, August 16, 2019

Pinned It? Try It! - Stenciled Gesso Resist

This is the start of a new blog series for me.  Have you ever pinned something on Pinterest, and then never got around to trying that idea?  I know — that is a silly question!  If you use Pinterest, I am sure you have done that.  

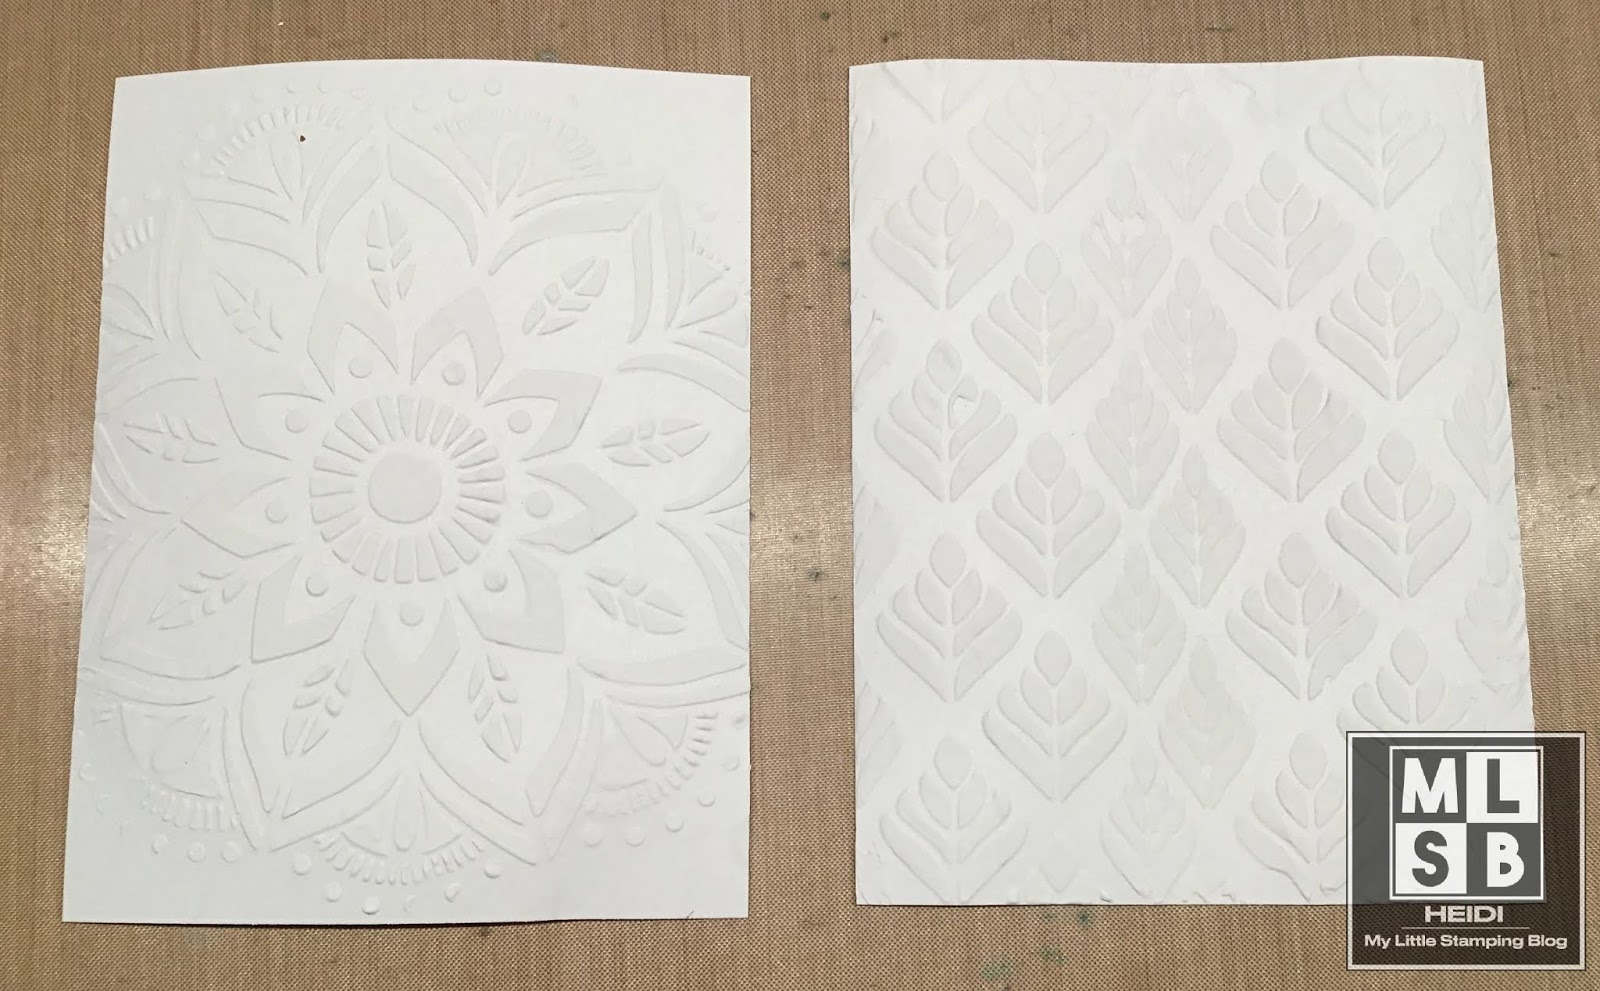
I am going through my pins and am going to actually try the ideas I saw!  My first idea came from this blog post from 2016: My Creative Rumblings.  Please check out Shelly’s card.  The basic idea was to use gesso through a stencil onto regular cardstock, let it dry, and then color over with watercolor crayons and blend out.   The gesso will act as a resist.  

I’m not sure what specific supplies Shelly used, but let me show you my process. 


First, I used a palate knife to apply Faber Castell gesso through a stencil.  This is a fairly thick gesso, but it is the same gesso I use to prep paper, so it isn’t as thick as modeling paste.  I let this dry completely.

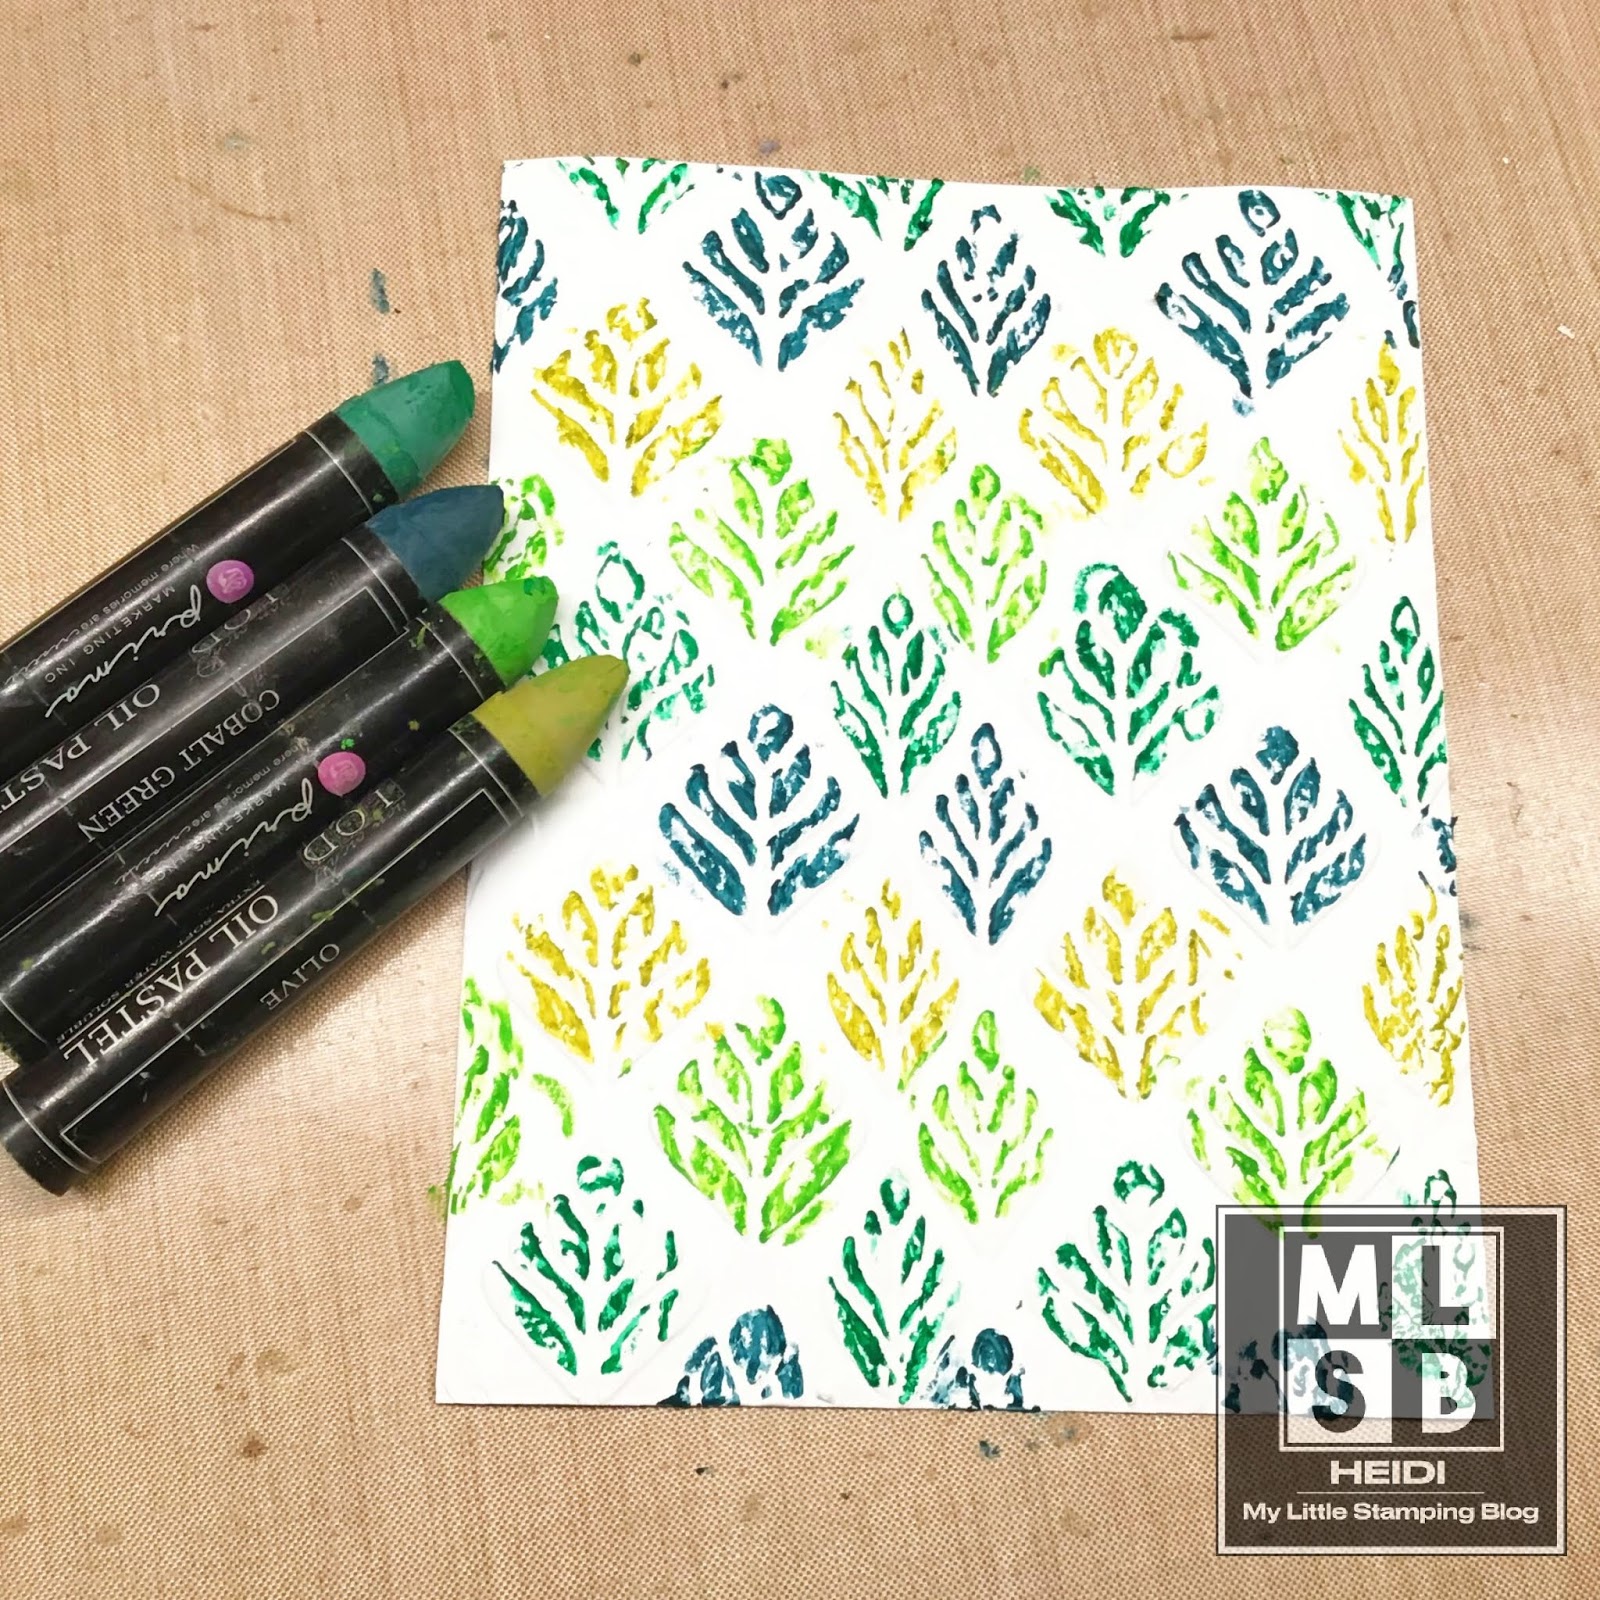
Later, I came back and colored over my stenciling with Prima Water Soluble Pastel crayons.  These are the only watercolor-type crayons I have. I like them because I can also stamp with them.  


I then spritzed each background with water, and then used a wet brush to move the color around.  I then wiped off the extra color with a damp paper towel. I used a light touch as I wondered if the stenciling would rub off if I was too heavy handed.  

These are my results when my background were still wet.  I like them both!  I bet I would get a better color blend if I had used watercolor paper.  But regular cardstock worked just fine. 


Here is my first card. I added die cut sentiment and some cute die cut stamps over vellum.  Then I cut tiny strips of glitter paper and used them for a border.  


The second card, I used a doily die cut I had in my scrap box.  I no longer own this die. I think I must have accidentally thrown it out.  I then added the bird, saying and some sequins to finish this off.  This card did warp a little. I should have let the background dry a little more completely before assembling the card. I have it under a book now to flatten it before mailing. 


Supplies: Hero Arts Swans and Cattails stamp and die set, Stampin Up A Happy Thing Stamp set, Close to My Heart Wordfetti stamp set, Memento and Archival black inks, DCWV Twinkle Glints 6x6 glitter paper pad, Creative Expressions Autumn stencil, Fabric Creations by Plaid doily stencil, Faber Castell Gesso, Prima Watersoluble Oil Pastels

I hope I have inspired you to try a new idea!  If you are interested in my Pinterest, here is a link.  


Tuesday, June 4, 2019

JFF’s June Challenge - Use a Stencil

Hello! I am happy to announce that Just for Fun’s Blog challenge this month is to incorporate a stencil into your stamped design.  I really enjoy using stencils, so I was happy to play along this month.


My background was created by applying ink directly to a stencil with Distress Oxide ink in Antique Linen.  Then I spritzed the stencil with water and pressed it to watercolor paper to make a monoprint.  I was tickled to see that the tan ink separated out into both tan and a light green.  Brown inks are always fun when they separate.  


Then, I used my stamping platform to stamp my fern in green oxide ink, and then I just added brown oxide ink to a few parts of the fern and stamped it again.  I liked the way it turned out.  My Father’s Day greeting was stamped directly to my ivory card base using a dye ink.  

Supplies:  Just for Fun Rubber Stamps Flora and Fauna sheet, Happy Father’s Day, Creative Expressions Autumn stencil, Distress oxide inks in Antique Linen, Vintage Photo and Peeled Paint, watercolor paper, Hero Arts Shadow Ink Forever Green, Gina K Designs Dark Sage cardstock, Michaels 110 pound ivory card stock.

Hope you will join in the challenge this month!


Monday, April 22, 2019

Leaping Lions Handmade Card

Hello!  I have had the pieces-parts of this card sitting on my desk for quite a while, but hadn’t gotten the card finished till this morning.  I have gotten into the habit of working on bunches of projects at once, which may or may not be a good way to work. Lol.


This stamp set is one that was RAKed to me, secondhand. It is so cute.  I colored and die cut the images and then created a stenciled background.  I did cut up the sentiment so that I could put part on the outside and part on the inside.  


Supplies:  Reverse Confetti Leaping Lions stamp and die set, Memento and Versafine black inks, Hero Arts Soft Sand, Butter Bar, Forever Green and Red Royal inkpads, Plaid stencil, Distress Oxide inks Candied Apple, Wild Honey, Fosilized Amber and Fired Brick, Echo Park Happy Camper 6x6 paper pad

I’d love to enter this card into the ModSquad Challenge Use a Stencil.

Hey! Thanks for coming by today, and double thanks if you left a comment!  If you are new, please consider subscribing.