Just stopping in to share this card. I really like it!


Spellbinders Embossing Folder
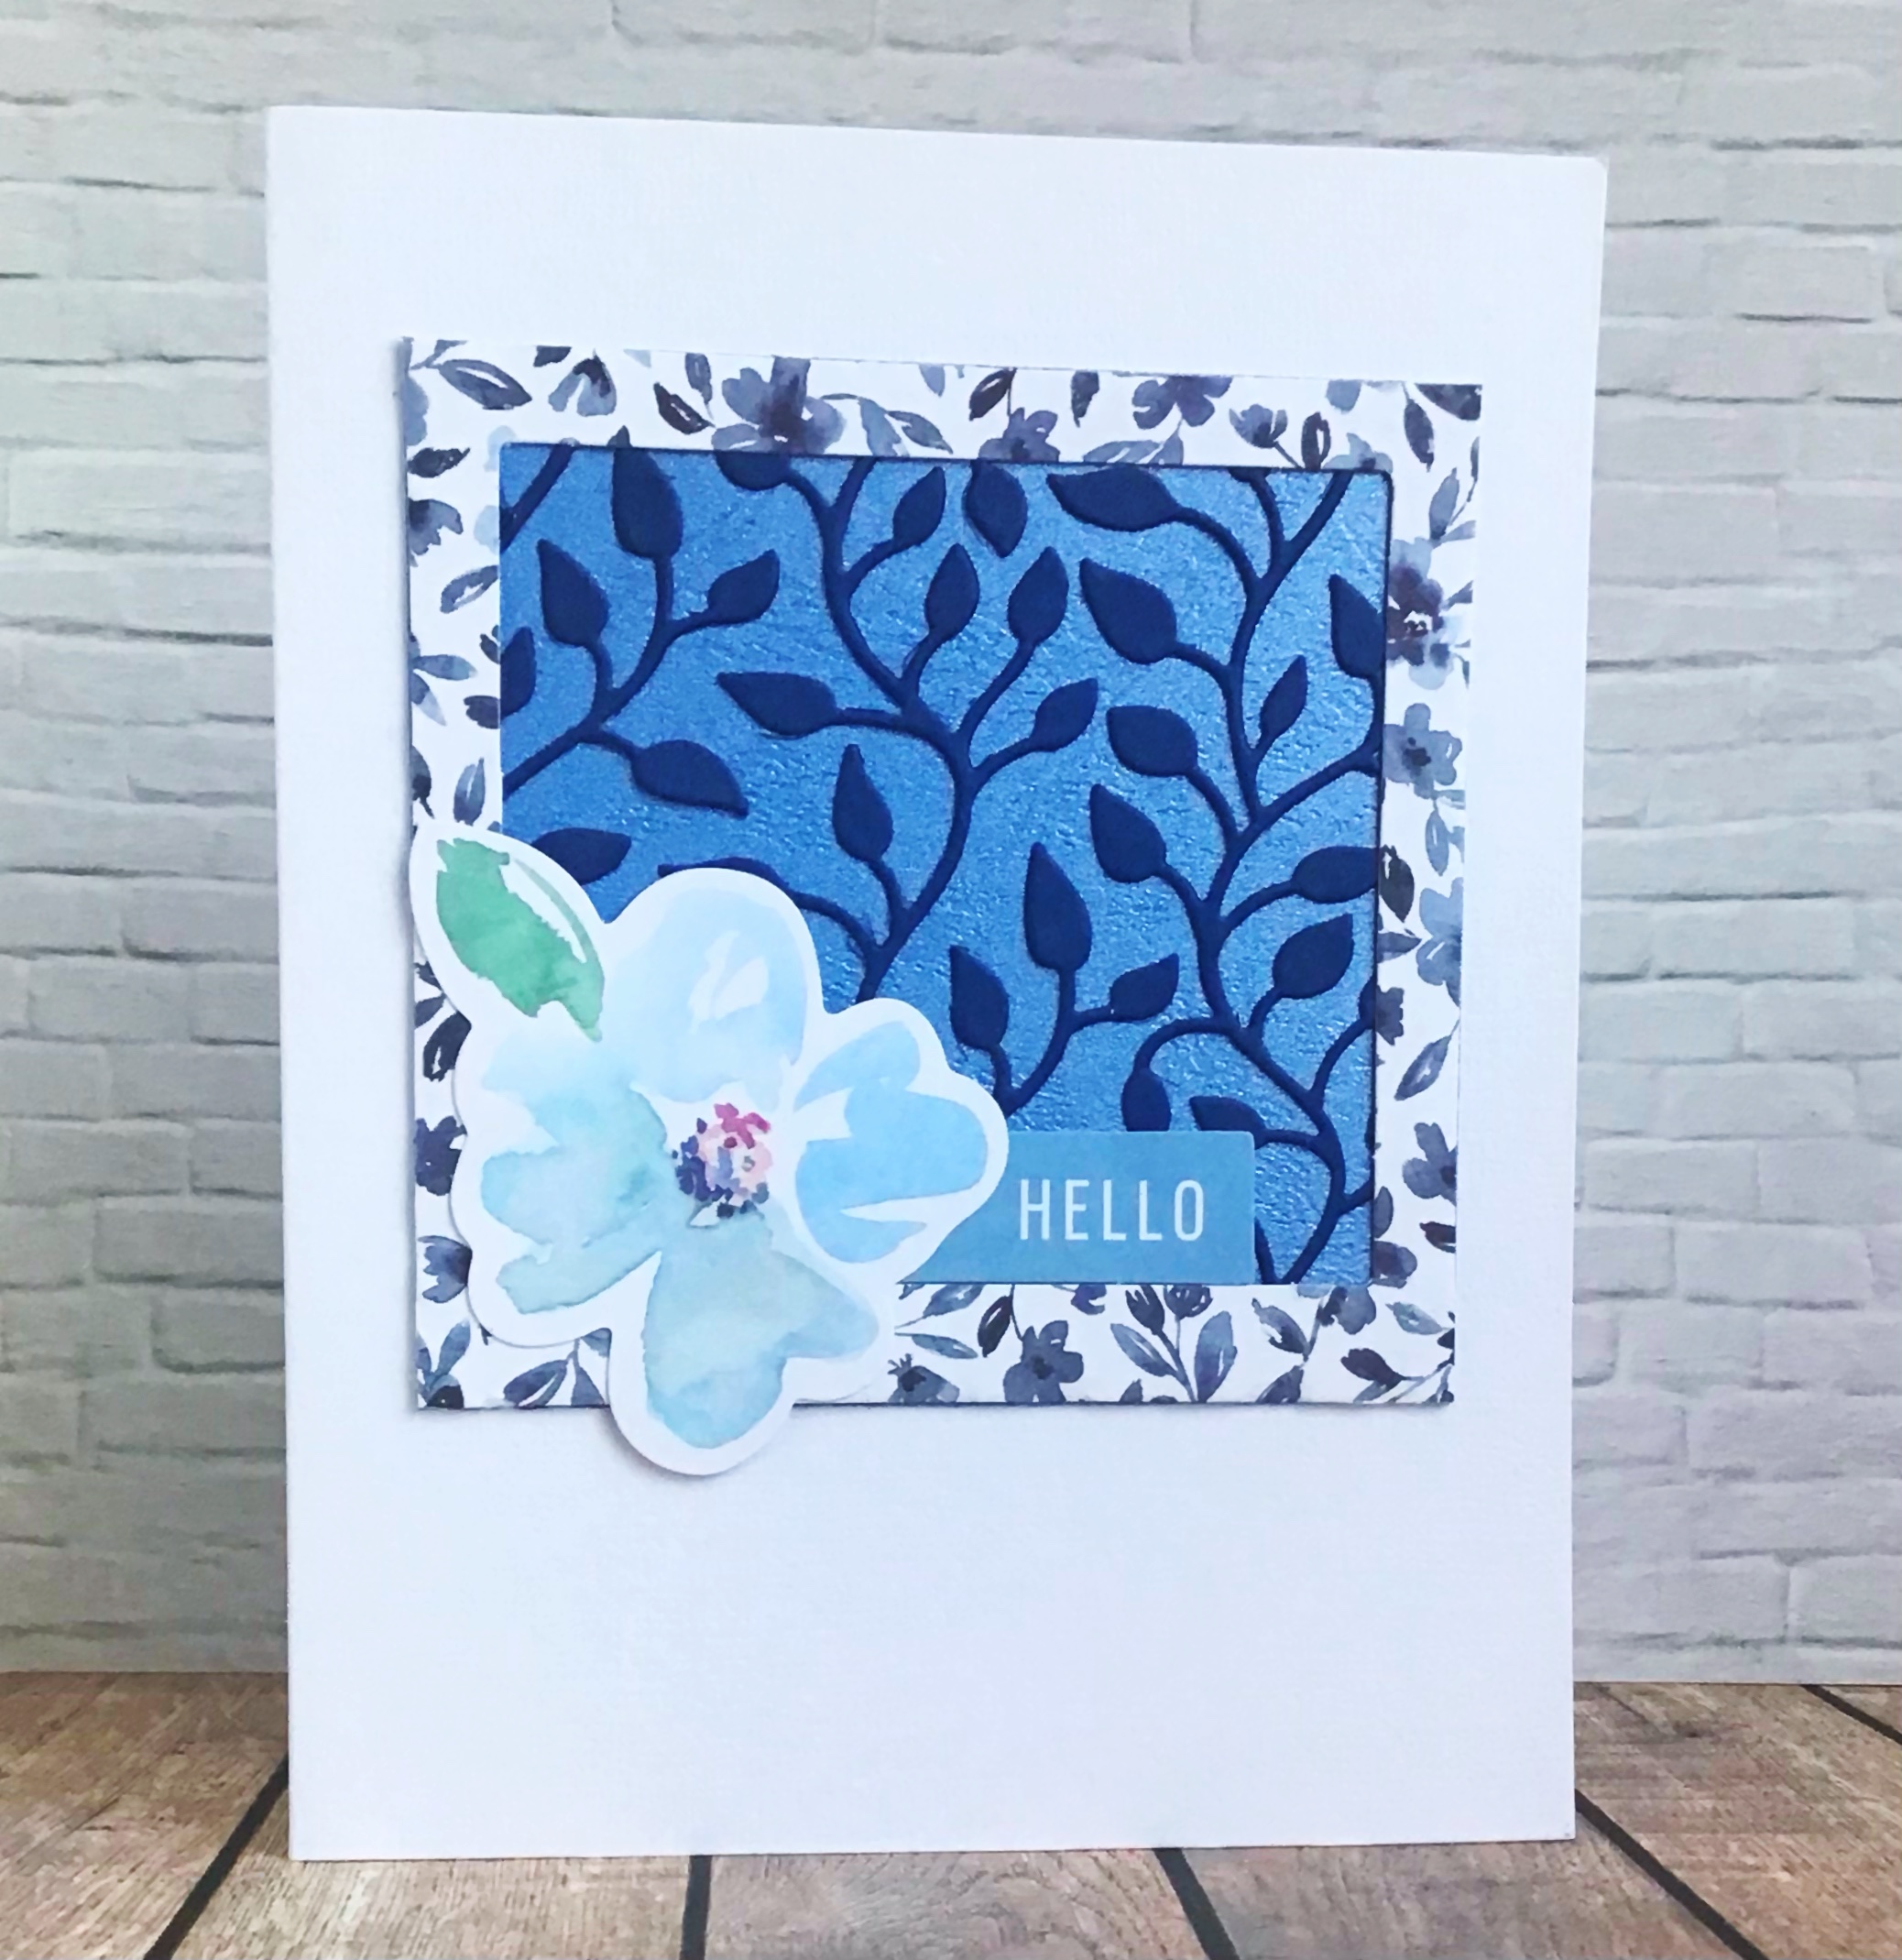
Taylored Expressions Sentiment
Gina Marie Stitched circle die
Creative Expressions Flamingos
Hero Arts Layering Stamp and Dies
Thanks for looking!
Just stopping in to share this card. I really like it!
Spellbinders Embossing Folder
Taylored Expressions Sentiment
Gina Marie Stitched circle die
Creative Expressions Flamingos
Hero Arts Layering Stamp and Dies
Thanks for looking!
Hello Crafty Crafters!
One thing I have started buying, or receiving as gifts, is ephemera packs. There are so many pretty ones out there (and they typically come with A LOT of pieces) but I realized I wasn’t using very many up if I just used them as a focal point here and there. So I endeavored to change that!
Here are 3 cards where I used up quite a bit of Ephemera in simple ways…
1) First off a very simple card, but I added some interest by layering a 4 pieces of ephemera. The background here is a background stamp by Purple Onion designs. I like the way the gold foiled parts look together.


This post is the simple ways to use Ephemera but I have some more ideas coming that use lots more! See you then!
Hello and Happy Friday!
Today’s cards are another set. They all use Close to My Heart Embroidered Card Front stamp set, one uses Close to My Heart Cross Stitched Love (sentiment) and two are using the cute set of Strawberry dies from the Spellbinders 2023 Advent Calendar.

For the card with the white circle inserted, I got out my Gina K Wreath Builder stencil to put the extra “embroidery” on that one. I hadn’t used that technique in years, so it was fun and easy.
Thanks for stopping by and I hope you have a good weekend!
~~Heidi
Happy Valentine’s Day to all!
I have a few cards to share that fit the theme a little. What I have been doing when creating is making a card, and then kindof going with a variation on that theme for a few cards. So I either make a card set, or just use some of the same supplies that are out, or the same colors, etc. It has helped me to start rebuilding my card stash.


Hello again! I have been busy doing Valentines so that I can send them out on time.
Here are a few that I made using mostly Spellbinders club items.


Hello! I took a long, needed break from blogging. But I am going to try to be back on a limited basis. I quit design teams, they weren’t worth the workload and time to be paid in supplies (if they remember to send you them… another story).
I am interested who is still blogging and what challenges are inspiring and worth entering! Please leave me a comment!
I have these two cute Valentines to share with you today. They are going to go to my nieces.


I won’t always be posting a full supply list, nor will I usually post links. Probably 90% of my stash now is retired. If I ever leave a product out that you are interested in, and I didn’t tell you, please leave a comment to let me know and I will figure it out and tell you!
But here is a basic list:
Pink and Main Perfect Blend Stamps and Dies
Bo Bunny Early Bird 6x6 paper pad.
I will also mention the tiny silver sticker I added between the two patterned papers, which isn’t super visible in the photos but is super cute in person. Those are from Starforms. My goodness, I didn’t know they were so hard to find now. I purchased a few from an Etsy shop yesterday. They were made in the Netherlands and I don’t know if they went out of business or just no one is importing them anymore. They are a great finishing touch for a car though!
Thank you to anyone who is still reading! Have a good day!
Hello from design team member, Heidi. Summer is here and bring on the beachy crafting! One of my favorite stamp sets for this is I Brake for Stamp’s By the Sea Rubber Sheet. It has fun images, especially this Turtle, in two sizes.
How I made this card was by first sponging blue ink over the center of my white card. I used the same ink to stamp several of the little stamps on the back ground. I think I used the shell, the seahorse and the fish. Then I splattered some water drops over top.

Second, I used a blue cardstock and die-cut it to a rectangle. I sponged the same blue ink around the edges here. I stamped and colored the turtle on white. I trimmed it out. I then added my sentiment and put the turtle right front and center.
I like to be able to mail flat cards, so I didn’t add anything else, but this card would look great with some knotted twin.
I hope you are enjoying your summer and summer crafting!