Friday, February 28, 2020

Sympathy Card Series - February - Chickadees

Hello!  Some of you might remember that this year I had committed to making at least one sympathy card per month, in order to build up a stash. I think this is one of the most important cards to send, when needed, and it is often hard to make them at a sad time.  

Well, February really flew past and so my card is quite late in the month.  I was thinking about appropriate stamps for sympathy cards and I thought birds would work.


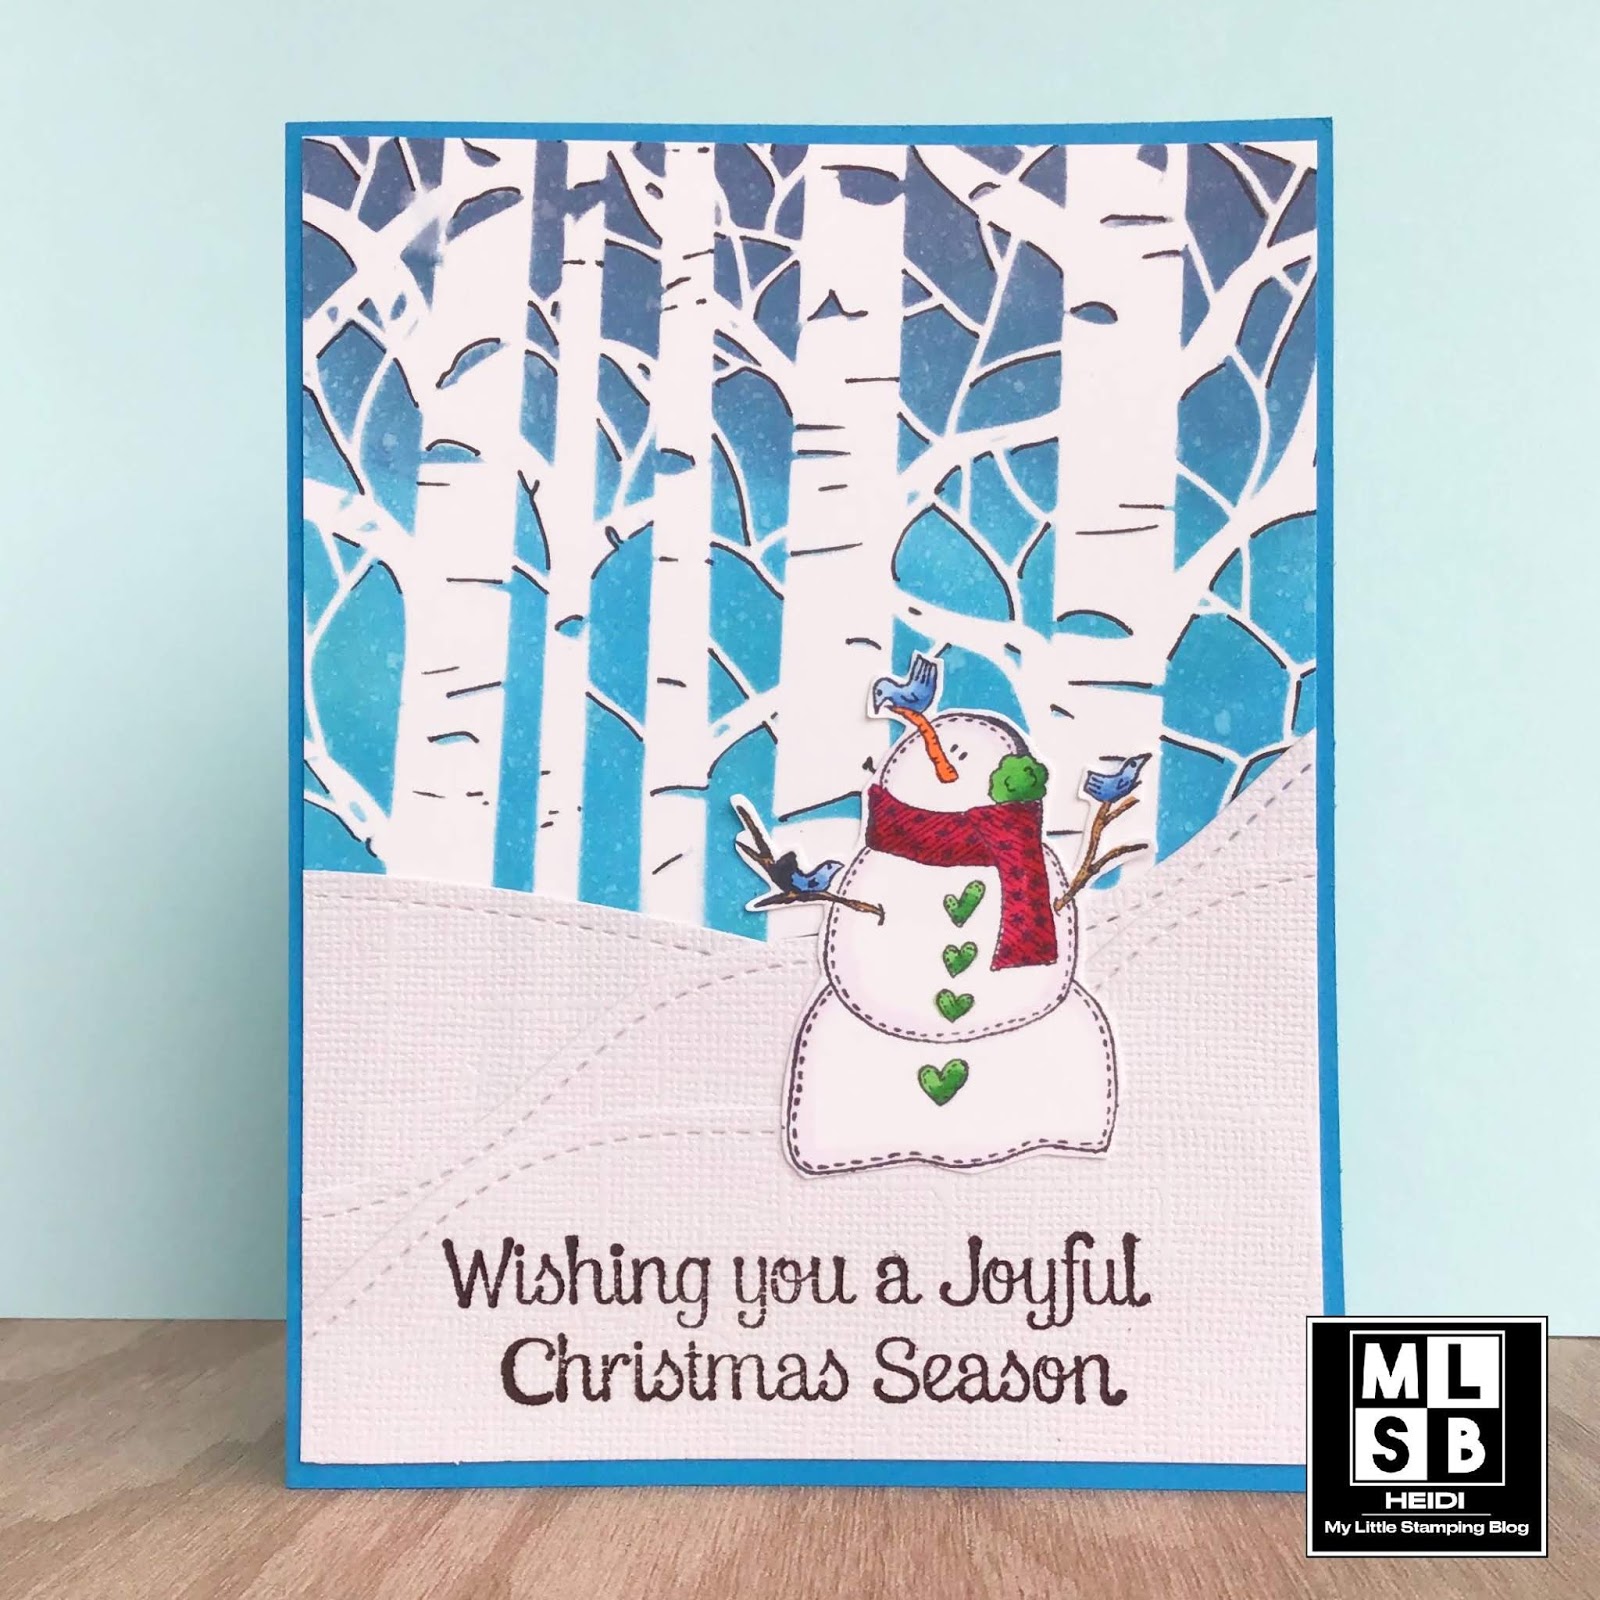
This card really was easy to put together. I stamped and die cut out all the pieces.  The wood background paper is a coordinating product and I just used the B side for the accent.  I used a different set for the sentiment and there is a nice verse inside (not pictured).  The birdies are popped up to add dimension.  

This stamp set is actually on sale at Close to My Heart just till tomorrow 2/29, if you wanted to snatch it up.  (I don’t sell CTMH, I just occasionally buy when I love what they offer.)
Spruced Up Cardmaking stamp or this one includes the dies.
The sentiment is from Joy Clair Heartfelt Sympathy set.


I would love to enter WordArtWednesday’s Anything Goes challenge, The Card Concept Warm Winter wishes (I was inspired by the wooden board in the image), and SimonSaysStamp’s Wednesday Challenge Anything Goes.


Thank you for visiting!

Thursday, February 27, 2020

Christmas Cards with the Double Point Fancy Fold

I’m not much into making fancy folds, I frequently make mistakes in measuring, so it is actually a little bit odd that I fell so in love with this fold and made 6 cards!  

I first saw the fold last week on Carol’s blog here.  There are MULTIPLE video tutorials out there (one of which is here) and I found it impossible to figure out who the original designer was.  


As I was making one, I figured out that I could easily get 6 cards worth using just 2 sheets of 12x12 patterned paper, so that is what I did!

The hardest part was figuring out which focal point to use.  These sat on my desk for days before I decided on heat embossing the poinsettia on another coordinating patterned paper.  I was set on using some label dies for the focal points, mostly because I have only rarely used them in the past and I thought they looked nice.  


Anyhow, this was super fun for me, and if I am doing a fancy fold, you have got to know that it must be a pretty easy one!

I’d love to enter the February Rudolph Days challenge and SimonSaysStamp’s Wednesday Anything Goes challenge.


Cut directions for 6 cards from 2 pieces of 12x12 patterned paper:
1) Sheet one: Cut into three 4 inch by 12 inch pieces.  Take each of those and cut into four 4 by 3 inches pieces.  You will have 12 4x3 inch pieces.
2) Sheet 2.  Cut into three 4 inch by 12 inch pieces.  Take each of those and cut into 4 x 5.25 inch pieces.  You will get 6 of those and then an 3 little pieces of scraps.

You will also need a 4 1/8 by 5 3/8 matting for each card, a 4.5 by 5.5 card base, and whatever type of focal point you choose.  Follow the directions in the video tutorial I linked to above.

Thanks for visiting!!


Christmas Card 2020 goal to date: 10
Christmas cards made: 12

Tuesday, February 25, 2020

Grand Canyon Hand Stamped Notecard with Distress Oxides

Hello stamping friends! I had such a busy week last week. There was a lot of running around, and one of my boys was sick for several days.  Luckily it was not the flu, but still not fun.  I spent most of my day yesterday just trying to catch up a little.  But I also made a little time to make a card, and let me tell you, that really did help me relax a little!

I was looking at this very neat Grand Canyon scene stamp and I thought that I could make a really great masculine notecard if I just stamped it over an inky background.


I used beige and brown Distress Oxides in the background, smooshing them up from my craft mat onto watercolor paper. I dried between layers and also added a little orange to suggest the color of the rocks at the Grand Canyon.  (Which I have only ever seen from an airplane! I really would like to see this one day in person.)

When dry, I just stamped over top with a crisp black ink.  I matted this in navy blue.  I think I could send this to any guy for any occasion. I’m so happy to have a card like that in my stash!

Save 10% on your purchase at I Brake for Stamps with my code SAVE10HEIDI.


Thanks for visiting!

Monday, February 17, 2020

Floral Card with Perfect Pearls and Brusho Powders

Hello!  I have a very pretty card to share today, and I used an older medium, Perfect Pearls! I am convinced that they are making a comeback, and I think that this detailed stamp set is the perfect style for them.

I stamped my flower on the background with Versamark ink and then used Gold Perfect Pearls.  After brushing off the excess, I spritzed the card with water to set the medium.  


For the focal point, I heat embossed the same flowers with gold embossing powder on watercolor cardstock. I wet the cardstock and then sprinkled Cobalt Brusho Powders over top.  I let this dry naturally so I would get variations in the colors.  

I left a spot in the upper left of the focal area for my sentiment. I wasn’t sure if I would use this for a birthday card or maybe even a Sympathy card, if a need arises.  I also did a bunch of Perfect Pearl backgrounds with the different flowers from this sheet so I have more cards to create in the future.


Supplies:

I Brake for Stamps Floral Half Sheet, Versamark Ink, Perfect Pearls Gold, Brusho Colbalt, Detail Embossing Powder Gold, Stardream Antique Gold cardstock, Spellbinders Fancy Rectangle Dies
(Save 10% on your order at I Brake for Stamps with my code SAVE10HEIDI)

I would love to enter Mod Squad’s Mica Powders challenge, SimonSaysStamp’s Monday Challenge Frame It, and WordArtWednesday’s Anything Goes Challenge.

Thanks for visiting!  What are you working on?

Saturday, February 15, 2020

You’re So Loved Handmade Card

Hello!  A quick share today for a challenge.


House Mouse Challenge has an optional theme of Love/Valentines, and since Valentine’s Day is in the past, I decided to go with this You’re So Loved sentiment.  The mouse image is called She Loves Me, reminiscent of that game where you tear off the flower petals.

I kept this card flat, as I often try to do, for easier mailing.

Thanks for visiting!

Friday, February 14, 2020

Snowman Christmas card with Stenciled Background

Hello! I know it is Valentine’s Day but I am here with a new Christmas card for 2020.  I have used the same stenciling technique to add depth as this post, but with a different style stencil.


The stencil was inked with a few colors of blue Distress Oxide inks (I think it was Faded Jeans and Peacock Feathers) and with the stencil still in place, I spritzed it with water to get the look of snowfall. Use a fine tip black marker, I added depth and shadows throughout the entire background.

I created snow hills with Frantic Stamper dies and textured white cardstock and added this sweet country snowman from Deep Red stamp to finish my scene.  The sentiment is from a very old Hero Arts set. 

Thanks for stopping by!

2020 Christmas Card Goal to Date: 10
2020 Christmas Cards finished: 6

Wednesday, February 12, 2020

Two for One - Handmade Valentine Cards

Hello! I would love to share two Valentine Cards I made using stamps that are not created for Valentines. 


First, I stamped the background in light pink.  I die cut out a heart in the center, and saved the heart for my second card.  I stamped, simply colored and fussy cut the snowdrops.  Here, I glued the base of the flowers down, but used dimensional foam tape to pop up the blooms over an embossed white background.  The entire panel was placed a light green card base, and I added a die cut sentiment.  


I could not just throw out the pretty heart, so I stamped the word LOVE on it, put three gems under and popped this up on an embossed background.  I think the simple detail of matting in black, and adding some sparkly silver ribbon, really makes this card pop.

Supplies: I Brake for Stamps  Huge Floral Background, snowdrop from Bubble Wrap, Lattice and Flower Sheet,  Love sentiment from Wedding Sheet. Gina K Innocent Pink ink, Darice and Cuttlebug embossing folders, generic Heart Dies, Close to My Heart gems and thread.
Save 10% on your entire order at I Brake for Stamps using my code SAVE10HEIDI.


I have already sent these cards out as Valentines, but I think they could also make a nice wedding card, or birthday card, if you just changed the color of the background stamp to suit your needs.

I hope that YOU have a wonderful Valentine’s Day!  Thanks for visiting as I love to share my love of stamping with you!

Tuesday, February 11, 2020

Handmade Teacher Valentine - Gift Card Holder

Hello!  I thought that this little project would be a cute, very easy to make, Valentine for a teacher that holds a little gift card for coffee.  I got this idea from a video on YouTube.

Instructions:
Cut a sheet of cardstock to 8.5 x 3.5 inches.
Score at 2 inches and 6 inches.  
Fold, adding adhesive on the sides where the gift card will be held, and decorate.

I decorated mine with a cute coffee image from Art Impressions Sloth-some set over a die cut heart.  In the video, the gal uses a belly band to close it, which is a great idea, but I decided to just use temporary adhesive to close, since I will be putting this in an envelope.  

I added the matching thank you sentiment inside, as you should never miss an opportunity to thank a teacher for their hard work!


Thanks for visiting!

Monday, February 10, 2020

Mixed Media Corrugated Cardboard Stamped Art

Hello everyone!  One of the other challenges in my online stamping group was do to a technique with corrugated cardboard, acrylic paint and stamping.  You can see the basic technique in this YouTube video.


I decided to throw the kitchen sink at this, and made a piece of Mixed Media home decor.  I know this is not what I usually post, but I just adore this style.  And I get to use a bunch of stuff in my stash!

Here is a photo of this background (and a spare) before I did the stamping on it.  If you try this watch out!  You might just get addicted! (Also, a tip, using a brayer to apply the paint instead of a brush is faster and more even.)


Thanks for visiting!

Saturday, February 8, 2020

Feliz Cumpleanos Card - Perfect Pearls - Faux Metal Technique

Hello again!  I have been noticing that Perfect Pearls seem to be making a comeback.  I think it might be because Ranger released some new colors this year at Creativation.  So it was timely that, in my online stamping group, one of the challenges was to play around with old and new Perfect Pearl techniques.  

I did play a lot, but the technique that I came to love is Jennifer McGuire’s Faux Metal Textured paper (from 4 years ago).  I still remember watching her videos on Perfect Pearls in the Thinking Inking videos, which must be at least 10 years old now. 


I used regular Distress inks in Picked Raspberry and Fossilized Amber and then used my regular Gold Perfect Pearls over top. I do have this new Embossing folder from Crafter’s Companion I have been itching to use and it really just turned out beautifully.  

The stamps are all from Hero Arts April 2018 kit, colored with pencils, which is one of the ones still available.  I was so pleased how this worked out and I truly wonder why I didn’t try this technique sooner!  It is a stunner.


I would love to enter A Blog Named Hero’s Anything Goes challenge and Cute Card Thursday’s Anything Goes Challenge.

Thank you so much for visiting today!  Have a wonderful weekend and hope to see you again soon!

Thursday, February 6, 2020

Love You Bunches - Stenciled Background Technique

Hello!  In my online stamping group, we do several “fests” each year where we have challenges. It is always a very creative time, and I plan to share some of the cards I create here on my blog too.

One of the challenges was to use this ingenious Stenciling technique by my stamping friend Beth.  She did a nice tutorial here on How to Add Depth to your Stencils.


I used an older Plaid stencil and used 3 Distress Oxide colors and tried to blend them as best I could. I added black pen marks and tried to be consistent as to where the light source would be, although I know I need to work on that.  

I simply finished off the card with this cute stamp, colored with markers, and adding some glitter glue  Nuvo drops accents to the bouquet. 

I like that I could use this card for Valentines, Birthdays or even a Get well.  


I would love to enter Penny Black’s Saturday Challenge - Anything Goes/Optional Love is in the Air challenge, SimonSaysStamp’s Monday Challenge Floral Frenzy.

Supplies: Penny Black Good Day Stamp set, Plaid Stencil, Distress Oxide inks Peacock Feathers, Picked Raspberry, Squeezed Lemonade, other items from my stash.

Here is the background alone, and the other one I made (a little preview of a card coming up soon!)


Thank you for visiting today!

Wednesday, February 5, 2020

Dance Like No One’s Watching!

Dance like no one’s watching!  Because they aren’t!  They are probably looking on their phones. And they might just be watching animal videos!

———————————————————————

Hello!  I hadn’t yet used this cute duck image from the Mostly Mice stamp set, and I needed a birthday card for a young person, so I thought I would use it with a funny saying. 


I colored the image simply with alcohol markers and then used a die to cut an aperture in some fun patterned paper.  I stamped the funny sentiment from the Monster Mash set with blue ink onto some yellow cardstock.

Save 10% on your entire order at the I Brake for Stamps store, using my code SAVE10HEIDI.

I like mixing and matching sets, and I do think this is pretty funny.  I hope it will bring a smile to the face of the little boy I will be giving to!

Do you mix and match stamp sets?  Or do you usually stick to stamps and sentiments within a set? I am interested - let me know in the comments!

Thank you for visiting!

Saturday, February 1, 2020

House Mouse Strawberry Card

Hello!  Just a quick share of this card made with such a sweet image.  I think mice (that are not in my house) are really cute.


I colored the image, House Mouse Sleeping with Strawberries, with markers and added white gel pen on the seeds. I simply cut it out with a Gina Marie Wonky Stitch Oval die and put over some patterned paper.  The sentiment and banner is from Close to My Heart.

I would love to enter House Mouse’s Anything Goes challenge, SimonSaysStamp’s Wednesday Anything Goes challenge and WordArtWednesday’s Anything Goes challenge.


Are you crafting this weekend?  I hope you have a really good one!