Saturday, August 24, 2019

Pinned It? Try It! Week 2: Perfect Pearl Galaxy Background

Hello everyone! Hope you are enjoying your weekend.  We are enjoying lovely weather today after a hot and humid week, then rain.  But today, I need to get outside soon!  I probably should weed my flower garden, but we shall see...

Here is the 2nd edition of Pinned It? Try It!  Here is a link to the Pin I am trying.  This pin is one of those frustrating ones that does not link back to someone’s blog, so if you happen to know the source of this technique, I would love to give them direct credit for it.  

The process is to use Perfect Pearls with a touch of water, using a stipple brush to apply it to your black cardstock.  


I made two.  I did not get the exact results as in the photo.  I probably could have lifted my brush more exactly straight up.  It also may be that my brush is just a little different.  I may have also used a touch too much water and should have first done my first brushing on scrap paper to dry the brush a bit.  All that being said, I think they turned out great!

The first background I made into this fun Halloween card!  I was inspired by my kittens who seem to stalk the funniest things.  


The second card I made into a Back To School encouragement card.  I used this layout to cover up a part of the background I didn’t like as well.  For this background, I did splatter on some white ink, and then added white gel pen, as well.  


Supplies:  Stampers Anonymous Crazy Cat stamps, Inkadinkado Creepy Lane stamp set, Our Daily Bread Designs (now Divinity Designs Shine On stamp set, Gina K Designs Inspiration Mosaic Stamp set, Versafine Onyx Black ink, Hero Arts Pool ink, Memento Black ink, Frantic Stamper Stitched Scene Builder Edgers dies, Gina Marie Designs X Stitched Circles dies, Perfect Pearls various colors, Spectrum Noir alcohol markers, Tombow Water Based markers, other items from my stash.

Thanks for visiting again today!  If you are new here, I hope you will consider subscribing.  For all my Pinned It? Try It posts, click here.


Wednesday, August 21, 2019

Yellow Floral Thank You Cards

Hello!  Thank you for all the wonderful comments on my last post about Pinned It? Try It!  I have my next technique picked out and will be working on that soon.  We are in back-to-school mode, and have quite a lot on the to-do list!  I was able to make it to my craft group last night, and it was fun to talk to everyone about what they were making.  A couple gals will be going to a stamping convention this weekend. I wish I had time to join them!

Today I am sharing two thank you cards.  I started out wanting a sunny and bright, but clean looking card.  I wanted to use just stamps, ink and plain cardstock. 


I stamped my flower in yellow, and then used the second generation stamping to fill in the white areas. I know you cannot see that so well in the photos, but it makes a big difference.  


For the second card, I wanted a little more going on, so I used a frame of yellow flowers (still using that second generation) but then added an outer frame of black stamping. That was just the bit of drama I was looking for.  

Supplies: I Brake for Stamps  Floral Half Sheet set,  Thank You Flourish sentiment, Hero Arts Butter Bar ink, Versafine Onyx Black Ink, Cardstock from my stash.  (Save 10% on your stamp purchase at I Brake for Stamps with my code SAVE10HEIDI)

Happy Stamping!


Friday, August 16, 2019

Pinned It? Try It! - Stenciled Gesso Resist

This is the start of a new blog series for me.  Have you ever pinned something on Pinterest, and then never got around to trying that idea?  I know — that is a silly question!  If you use Pinterest, I am sure you have done that.  

I am going through my pins and am going to actually try the ideas I saw!  My first idea came from this blog post from 2016: My Creative Rumblings.  Please check out Shelly’s card.  The basic idea was to use gesso through a stencil onto regular cardstock, let it dry, and then color over with watercolor crayons and blend out.   The gesso will act as a resist.  

I’m not sure what specific supplies Shelly used, but let me show you my process. 


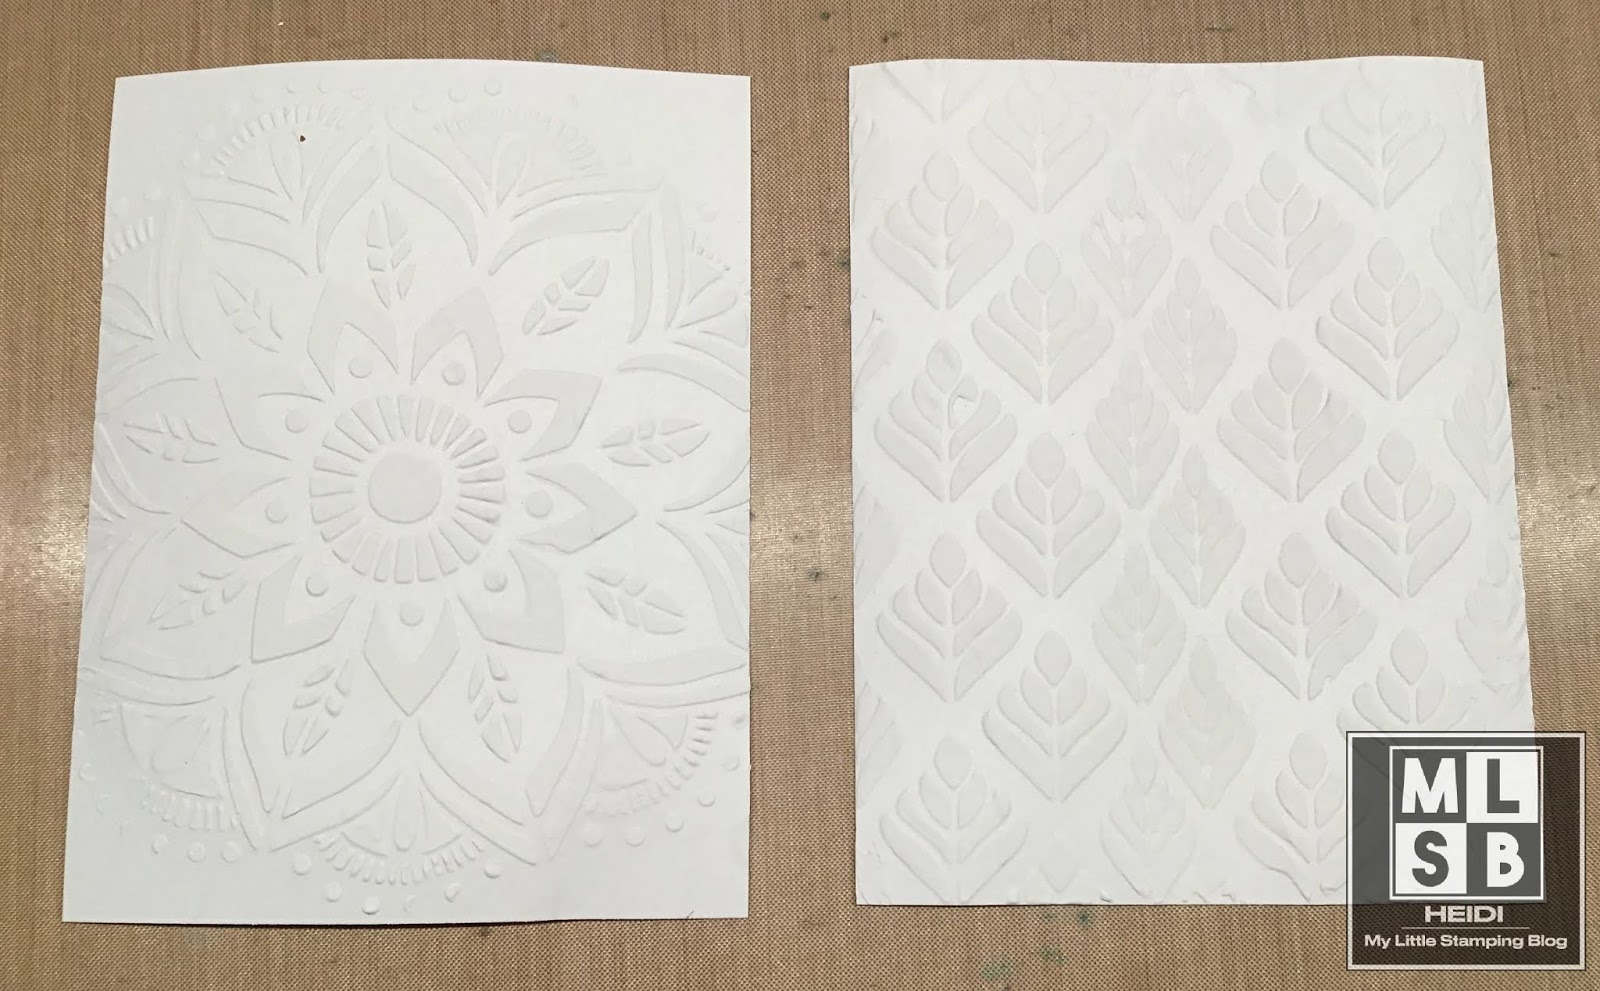
First, I used a palate knife to apply Faber Castell gesso through a stencil.  This is a fairly thick gesso, but it is the same gesso I use to prep paper, so it isn’t as thick as modeling paste.  I let this dry completely.

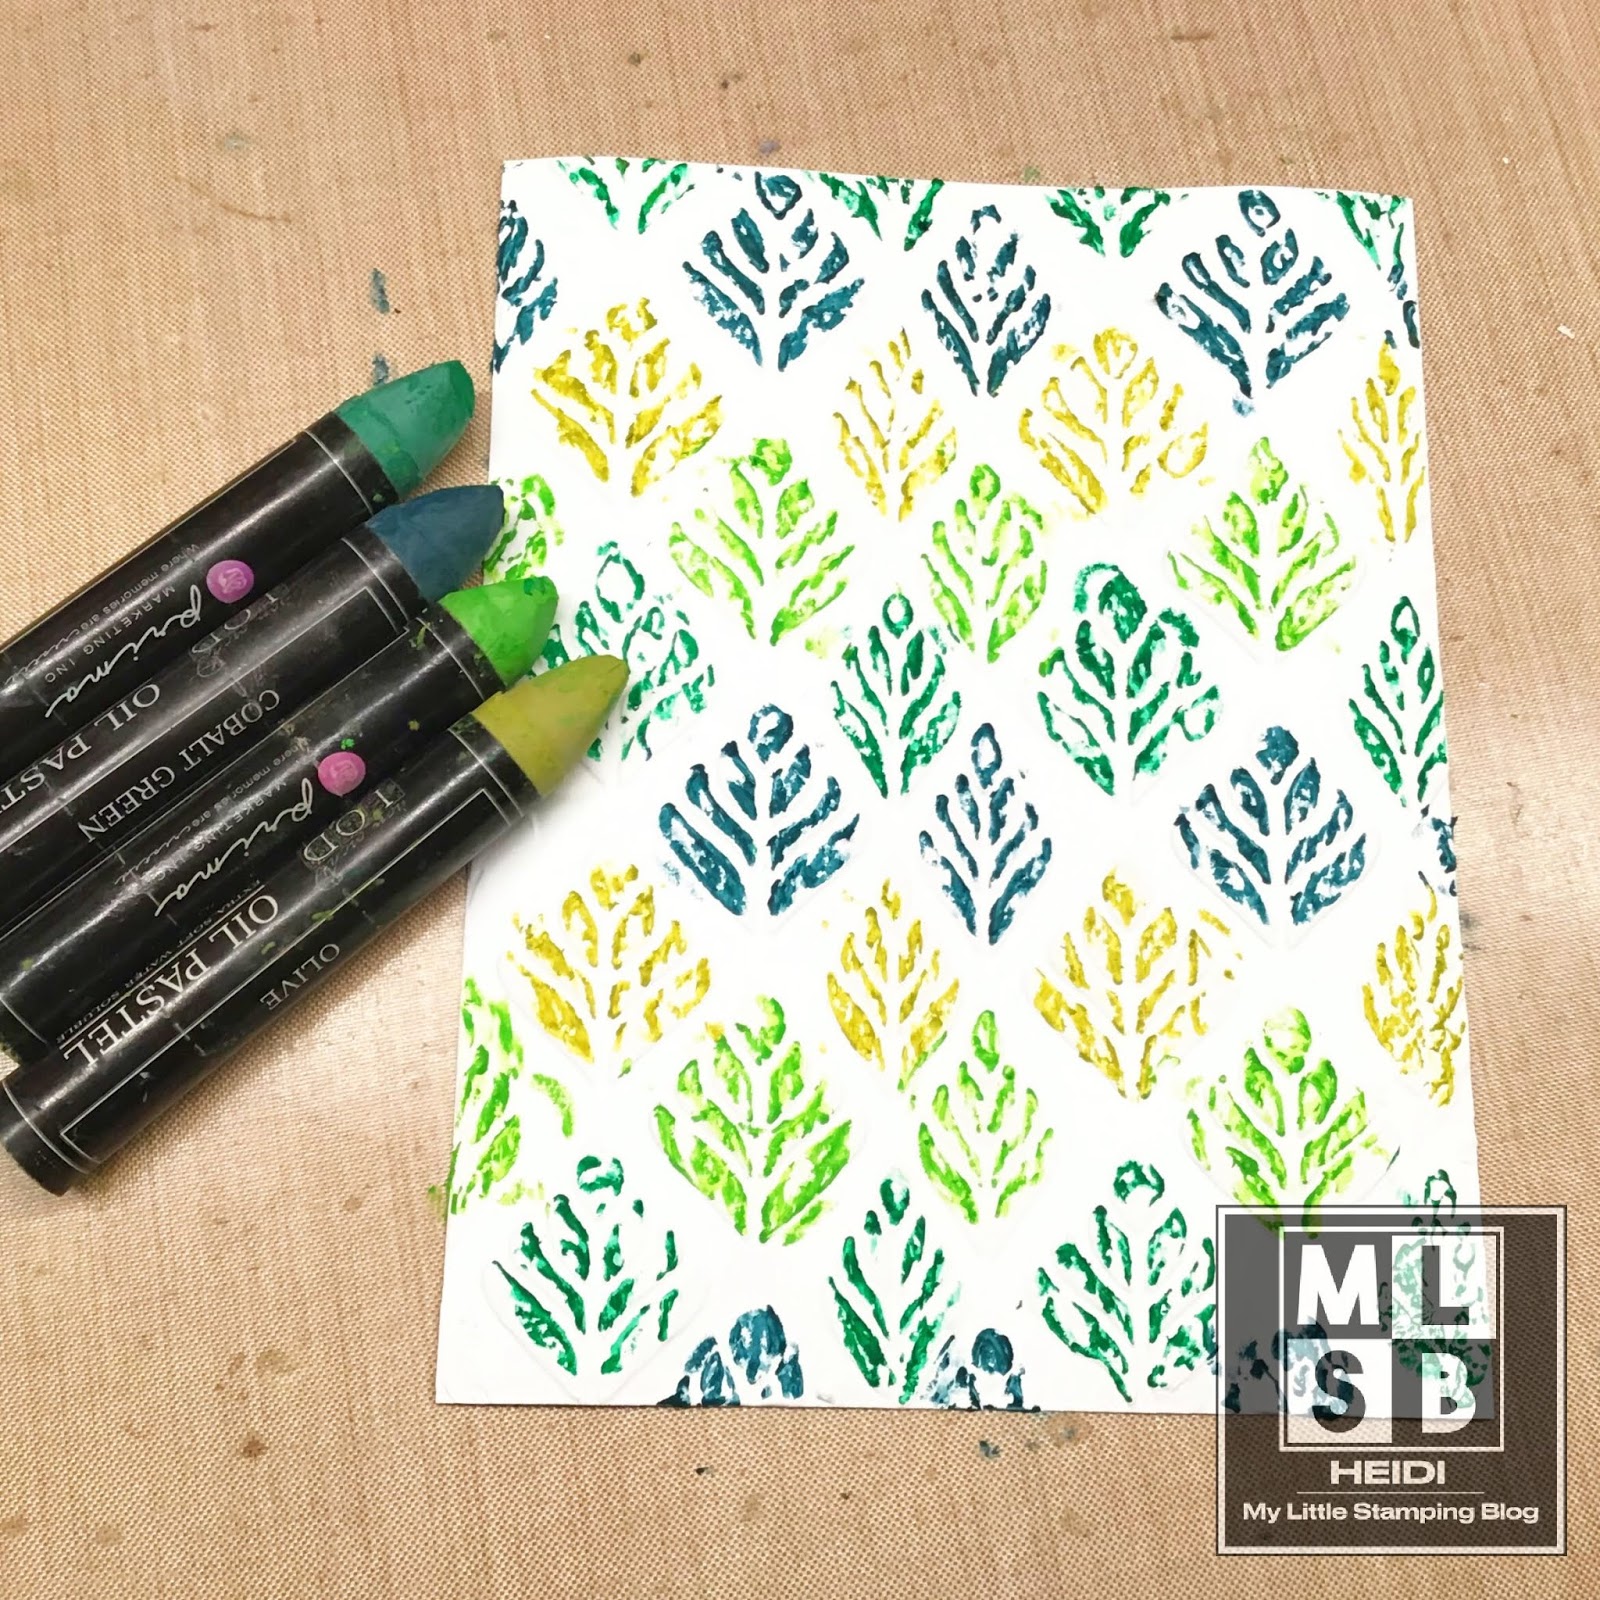
Later, I came back and colored over my stenciling with Prima Water Soluble Pastel crayons.  These are the only watercolor-type crayons I have. I like them because I can also stamp with them.  


I then spritzed each background with water, and then used a wet brush to move the color around.  I then wiped off the extra color with a damp paper towel. I used a light touch as I wondered if the stenciling would rub off if I was too heavy handed.  

These are my results when my background were still wet.  I like them both!  I bet I would get a better color blend if I had used watercolor paper.  But regular cardstock worked just fine. 


Here is my first card. I added die cut sentiment and some cute die cut stamps over vellum.  Then I cut tiny strips of glitter paper and used them for a border.  


The second card, I used a doily die cut I had in my scrap box.  I no longer own this die. I think I must have accidentally thrown it out.  I then added the bird, saying and some sequins to finish this off.  This card did warp a little. I should have let the background dry a little more completely before assembling the card. I have it under a book now to flatten it before mailing. 


Supplies: Hero Arts Swans and Cattails stamp and die set, Stampin Up A Happy Thing Stamp set, Close to My Heart Wordfetti stamp set, Memento and Archival black inks, DCWV Twinkle Glints 6x6 glitter paper pad, Creative Expressions Autumn stencil, Fabric Creations by Plaid doily stencil, Faber Castell Gesso, Prima Watersoluble Oil Pastels

I hope I have inspired you to try a new idea!  If you are interested in my Pinterest, here is a link.  


Wednesday, August 14, 2019

Storybook Apple Picking Card - Teacher Thank You

Apple picking season is just around the corner, and so is back to school. I originally was going to use this darling image, Miss Rachel Picking Apples, for a birthday card for my niece, but while in the process, I changed my mind.  Instead, I will use it a little thank you note for a new teacher. 


I watercolored the image, and then decided I just had to paper piece Miss Rachel’s dress.  The sentiment that I added is from Florals Sheet. 

Are you ready for fall? I don’t think I am yet, but it seems to be coming nonetheless!  Have a wonderful day!

Monday, August 12, 2019

Salted Watercolor - Fiesta Card

Hello and happy Monday!  I hope everyone had a nice weekend.  We were able to go to a lake and kayak with family.  It was really great weather and we had a good time. 

Today, I am sharing this really fun Fiesta Themed card!  I started with the background, which is Ombré watercolor, but I treated it with salt before it dried to get this cool texture!  It is one of my favorite techniques.  


All the stamps were colored with pencils and cut out with the coordinating dies.  I actually colored these all a while back at my craft group. I find it easiest to travel with colored pencils, they take up so  little room in my bag.  

I had a piece of the watercolor paper left and did not want it to go to waste, so I used it on the inside of my card!  


Supplies: Hero Arts MMH April 2018 Kit (this one is still available), Memento and Versafine Black inks, Prismacolor pencils, Koi Pan watercolors, watercolor paper, other items from my stash.  

I’d love to enter this in Tuesday Throwdown’s Furry Friends challenge, and SimonSaystamp’s Wednesday Challenge Add a Die cut

Thanks for visiting today!

Wednesday, August 7, 2019

August Flower of the Month Card - Gladiolus

Did you know that Gladiolus is one of August’s birth flowers?  This is a wonderful flower comes in so many colors. I often will look at images of flowers on the internet before I color my stamped image, and for this one, I found out I could have used almost any color.  


However, I went with a peachy orange color.  This was my absolute favorite color when I was a little girl.  I colored the stamens of the flowers with a fine tipped marker in magenta, so they stood out a little more, and added just a touch of white gel pen.  


My stamp is the Jumbo Version of August Gladiolus, but if your prefer that your stamp not take up the entire card front, there is a smaller version available too.

Supplies: I Brake for Stamps August Gladiolus, Sentiment from Florals Sheet, Avery Elle Wonky Stitched Rectangles, American Crafts Twine, Spectrum Noir alcohol markers.  Save 10% on your order at I Brake for Stamps with my code SAVE10HEIDI.

Thank you for visiting!  Have a wonderful day!


Monday, August 5, 2019

Ombré Watercolor Background

Hello everyone! I hope you had a good Monday.  Mine was filled with some cardmaking, but also a bunch of errands and cleaning.  It was really nice summer weather.  Not too hot and not too humid.  Can’t complain about that!  

I have been admiring the stamps that Technique Junkies makes, as I am a long time reader of one of their Design Team member, Beth. I finally decided to make a purchase, and used this gorgeous bird stamp first!


I first created an Ombré Watercolor background with my pan watercolors.  These can be fun to do. You start with a lot of color, and then use more and more water as you go.  After it dried, I stamped right over top.  I then used watercolor markers to fill in the colors, and I blended the colors with a water brush.

The sentiment is one from Power Poppy.  I thought it went right along with this image.  

Supplies: Technique Junkies Watercolor Birds, Power Poppy Woodland Carpet stamp set, Versafine Onyx Black ink, Koi Pan watercolor travel set, watercolor paper, Tombow Water Based markers.


Thanks for visiting today!  I feel like I am back in the swing of things.  How about you?  Have you had time for crafting lately?