Showing posts with label Pin it Try it. Show all posts

Tuesday, November 19, 2019

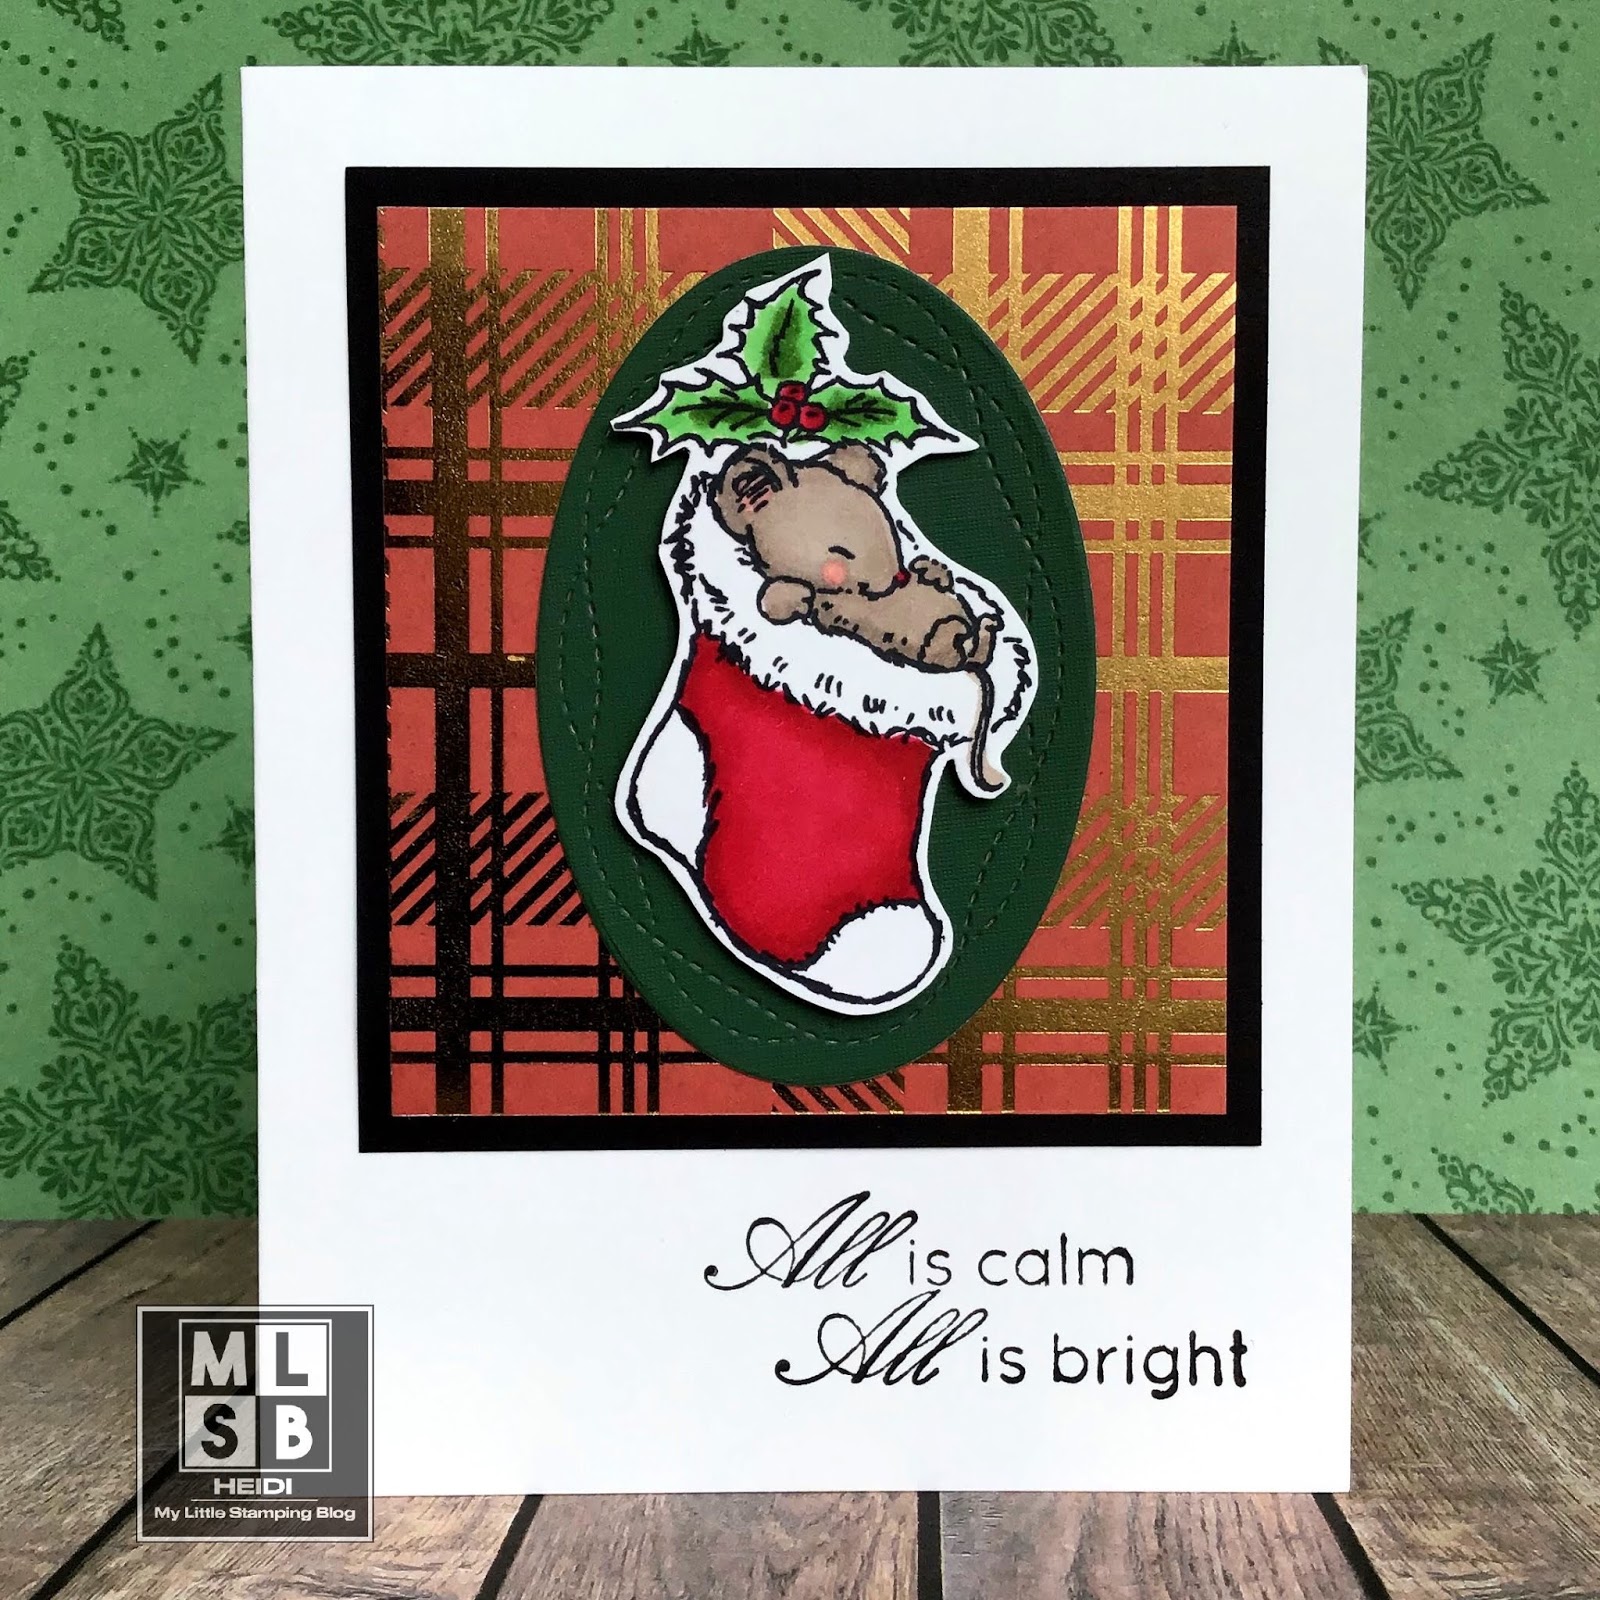
Christmas One-Sheet Wonder: Part 3

Hello!  I am sharing the last 4 cards in the 12x12 One Sheet Wonder I have worked on.  
The template is here, and here are the links for Part 1 and Part 2.

You might notice that the template calls for 11 cards, and I came up with 12.  I didn’t like two of the layouts for the plaid paper I chose, so I went ahead and did my own thing.  

Also, as soon as I made one card using kraft paper, I wished I could go back and make all the cards with kraft paper. It wasn’t my first instinct, but it really works so well!  


Supplies:  Stamps: Elle’s Studio Cheers, Close to My Heart ‘Tis The Season, Stampers Anonymous Holiday Magic, Gina K Designs Christmas Magic stamp and die set; Inks: Versafine Onyx Black, Hero Arts Royal Red and Forever Green; Papers: Recollections Christmas Plaid 12x12, others from my stash; Dies: Gina Marie Wonky Stitch Ovals, EK Success Snowflake punch; Darice Embossing folder.

Do you have a favorite card? I think mine is the last one, although I was proud of using a hashtag sentiment in the first card. I had never used that stamp before and thought it would be good for some young adults.

I would like to enter Cute Card Thursday’s Festive challenge, WordArtWednesday’s Anything Goes Challenge, and Your Next Stamp’s Mad for Plaid challenge.

Monday, November 18, 2019

Christmas One-Sheet Wonder: Part 2

Hello and I hope everyone had a good weekend.  Yesterday was supposed to be “Take a Hike” day so we did take a short hike in the afternoon, even though it was pretty cold!

Here is the second installment of cards for my Christmas One-Sheet Wonder.  If you need a refresher, the  template I used is HERE.  And here are links to the other cards: Part 1.  I will have Part 3 up tomorrow!


I really like the ski chalet image!

The paper I used is foiled and is always a bit tricky to photograph, but I love using it on holiday cards.  I didn’t even use all the images in the stamp set yet, so I look forward to making more cards with this set.

Supplies: I Brake for Stamps Small Christmas Sheet  (This is a NEW set offered a very attractive price right now as an unmounted sheet),  Christmas Tree quarter sheet set, Hero Arts Red Royal ink, Gina K Christmas Pine ink, Versafine Black ink, Avery Elle Wonky Stitched Rectangles dies, Gina Marie Wonky Stitched Oval dies, Recollections Christmas Plaid 12x12 paper, other items from my stash.
(Receive 10% off you stamp order at I Brake for Stamps using my code SAVE10HEIDI)

Thank you for visiting today!!!  I hope your week is off to a good start!


Thursday, November 14, 2019

Christmas One-Sheet Wonder - Part 1 (Pin It? Try It! Week 9)

Hello!  I realized that, in just a few weeks, it is time to send out Christmas cards!  Even though I already have some I made throughout the year, I am quite short.  I decided to use a One-Sheet Wonder template to make a bunch of cards.

Usually, people use a very simple sentiment stamp when doing a One-Sheet Wonder, but that isn’t my style.  I like to use colored images and I also like to jazz up the card layouts a little.  So I have already cut my piece of 12 x 12 paper via this layout.  (And yes, this is a Pinned It? Try It! Week 9 Post too.)

But, I am taking a little more time to complete my cards so I can put my own twist on them. Here is the first set using some CUTE images from Penny Black.  


And, yes, I am lamenting a little that I picked the foiled paper.  But it is so pretty, in real life, even if it is so hard to photograph! 

Supplies: Penny Black Jolly Friends, Simon Says Stamps Peaceful Christmas stamp set, Elizabeth Crafts Holiday Cheer stamp set, Memento and Versafine black inks, Recollections Christmas Plaid paper pack, Gina Marie Wonky Stitched Ovals dies, Avery Elle Wonky Stitched Rectangle dies. 

I would love to enter these cards in Cute Card Thursday’s Festive challenge, The Daily Marker’s 30 Day coloring challenge and WordArtWednesdsay’s Anything Goes challenge.

Thank you for visiting today!  I’ll be back again soon!


Tuesday, October 29, 2019

Pinned It? Try It! Week 8: One-Sheet Wonder

Hello and Happy Tuesday!  I have missed the timing for some of my Pinned It? Try It! Series, but since it is a self-imposed challenge, I feel liberated in doing it on which day I can!

Lucky for me, in my online cardmaking group, one of the challenges was to use a particular 6x6 One Sheet Wonder layout.  This was one I have already pinned. This makes 4 cards, although for the challenge we only had to complete 3.  The basic layouts were easy, but figuring out the focal points took quite a while. I was happy to bring out some stamp sets I hadn’t used in a while.

My one sheet is the sweet brown foliage paper.  It is from an older Love Nicole 6x6 paper pad that I got a AC Moore a while back and really haven’t used as much as I should.  

I also added accents of this very pretty champagne/gold metallic cardstock that I got on clearance at Staples.  It really doesn’t show how pretty it is in the photos.  


Supplies: Gina K Designs Painted Autumn and Birthday Blessings Stamp/Die sets, Close to My Heart Just Treats stamp set, Gina Marie Wonky Stitched Ovals and Stitched tag dies, Love Nicole Autumn Splendor 6x6 paper pad, EK Success Postage edge punch, Astrobrights Gold Pearl Linen cardstock, other items from my stash.

I’d love to enter these in the Cupcake Inspirations Fall Challenge and the ModSquad’s Sentiment says it All challenge.

.

Thank you for stopping in today!  How have you been spending your crafty time lately?  

Friday, October 4, 2019

Pinned It? Try It! Week 7 In & Out Embossing

Hello and happy weekend!  Boy, it has been a busy week!  I am really hoping for a low key weekend.  We shall see.  It’s time for another episode of Pinned It? Try It!  This week I am going to try something called In & Out Embossing.

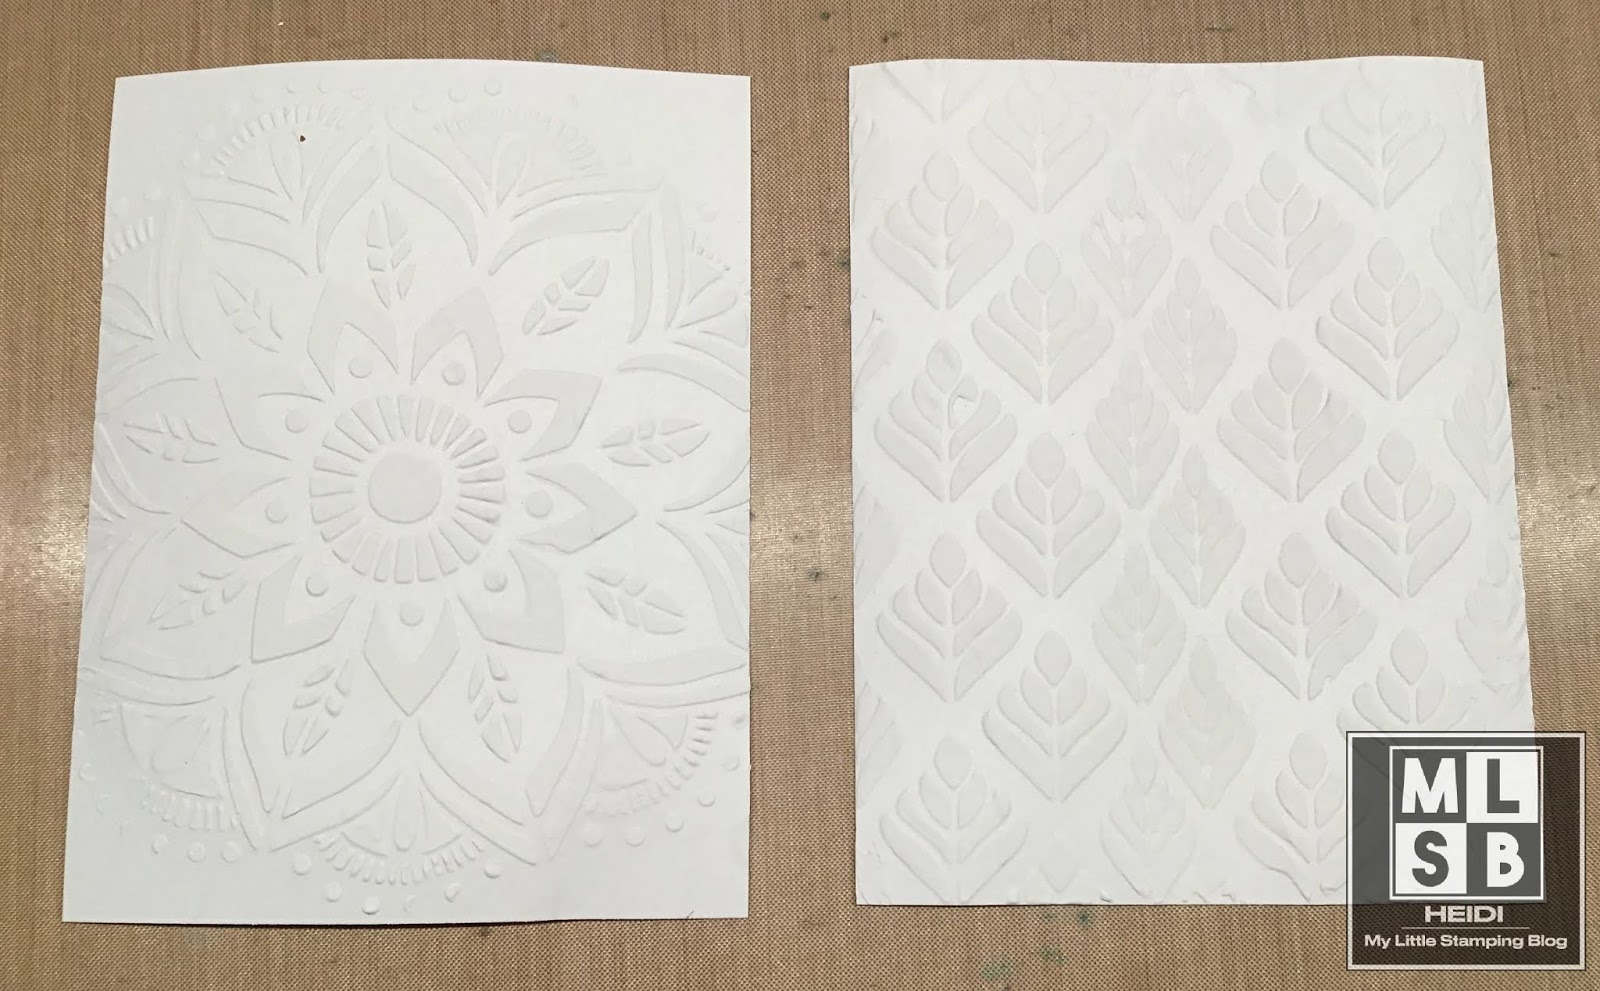
The Pin is here, and a direct link to the blog post is here.  This was created by Susan Roberts in 2011. The idea is to use an embossing folder, then turn your paper, and emboss the other direction.  You can use the same embossing folder, or use different ones, like I did.  


One embossing folder is from Darice and the other is Elizabeth Crafts.  I first lightly spritzed my cardstock with water on each side.  I did the all over pattern first, and the frame second.  Now, I didn’t take a photo, but it was very pretty just in white, but for whatever reason, I wanted to up the ante.  


I sponged blue on the inside and green around the frame.  I just thought this would really bring out the embossing, and it did.  I added hibiscus flowers to the top, and then my sentiment and a cute cute cute little snail at the bottom.  I finished it off some glitter Nuvo drops.  

Supplies:  Hero Arts Layering Hibiscus stamp set and dies, Close to my Heart Wordfetti sentiment stamp, Purple Onion snail stamp, Archival and Memento black inks, Distress Oxide inks for stamping flowers, Distress inks in Tumbled Glass and Mowed Lawn for sponging, Darice and Elizabeth Crafts Embossing folders, Spectrum Noir alcohol markers for coloring, Nuvo Crystal Drops in Blizzard.  

This is definitely a technique I will do again!  For the entire series of Pinned It? Try It! Click here.  

Thanks for visiting today!  Have you tried this technique before?

I would love to enter the Library Challenge’s Secret Garden challenge, and Cute Card Thursday’s Anything Goes challenge.

Sunday, September 29, 2019

Pinned It? Try It! Week 6: Circle Snippets

Welcome back to my 6th episode of Pinned It? Try It!  I have been perusing card ideas I have pinned long ago, and actually trying the ideas!  

This week, I am focusing on this Pin that was in my Sketch Board.  The original website was Echo Park’s Flickr account and the card was designed by Wendy McKee.  As far as I can tell, Wendy is no longer papercrafting or blogging.  


I really liked this pin for the creative use of small scraps of paper.  I do not use my punches and dies enough, so I knew that this would be a good challenge for me. 

While I loved the wonderful summery colors in the inspiration pin, I wanted to go with a more fall theme.  The papers are all either kraft cardstock, or scraps of a VERY OLD 6x6 paper pad called Darling Deer.  I love this paper pad, but need to use it up.  My banner is a stamp, and I had to add a cute bird stamp as well.  I did distress most of the paper and die edges with Tea Dye distress ink. 

I also was inspired to use my corner rounder, which I haven’t used much lately. 


Supplies:  JFF Fashion Warbler stamp, Lawn Fawn Bannerific Stamp set, I Brake for Stamps Sheet 138B (sentiment), My Mind’s Eye Darling Deer 6x6 paper pad, Gina Marie X Stitched Circle dies, EK Success Circle Punch, Spellbinders leaf dies, other items from my stash.

I would love to enter Pixies Snippets Playground Anything Goes challenge, and WordArtWednesday’s Anything Goes challenge.

Thanks for visiting!

Friday, September 20, 2019

Pinned It? Try It! Week 5 - Masking a Wreath

Hello!  It’s time for me to try another Pin for my Pinned It? Try It! series.  This time, I found a fun and quick technique from my Christmas Card board.  

See the Pin here.  The pin didn’t link directly to the blog post, but I was able to track it down.  The artist is Jill Franchett, who is no longer blogging, and this is the blog post here.   The technique is to cut a circle mask (either masking paper or a post it note) on your card, and then use whatever foliage stamps you have to create a wreath.  When you remove that circle, it looks like a wreath!


I used stamps from Close to My Heart’s Mistletoe Wishes stamp set, and then it looked like it needed something else, so I added the brown branch from Rubber Stamp Tapestry’s Cherry Blossom set.  I used Avery Elle Pigment inks, and Versafine for the black.  Adding berries with Stickles Glitter Glue seemed to finish off the wreath nicely.  Mine is not as clean and simple as the pin, but the technique is the same, and I am happy with how it turned out.

Have you ever stamped a wreath with masking?

Thanks for visiting today!  If you missed my other cards for the Pinned It? Try It! series, you can find them all here. 

Have a great weekend!


Saturday, September 7, 2019

Pinned it? Try It! Week 4: Clean and Simple

Alrighty then, back again this weekend with another edition of Pinned It? Try It!  The pin I chose today was from my Clean and Simple board.  You can see the pin from 2010 HERE, pinned 22,000 times! Wow. The corresponding blog post is HERE, and I was glad to see that Susan is still actively blogging and continuing with a clean and simple style. Neat! 


I decided not only to use the basic layout, but also the two tone stamping.  In the original card, Susan used a light and a dark tone of ink. In mine, I used the second generation.  I also couldn’t help but to add a mat for my rectangles.  I like the way it turned out and am happy to have another Sympathy card for when the times comes.  

Supplies: Just for Fun Rubber Stamps Flora and Fauna set, Hero Arts sentiment, Distress Oxide Ink Peeled Paint, Lucky Clover and Vintage Photo, Versafine Onyx Black.

Thanks for visiting!  What kind of pins have you been meaning to try?

All the blog posts in this series are found HERE.


Friday, August 30, 2019

Pinned It? Try it! Week 3: Make Your Own Multicolor Inkpad

Hello everyone! I am back again with another episode of Pinned It? Try It!  This time, I have a pin that is probably 8 years old that was a photo on Flickr, but has since been deleted.  This is where Pinterest really shines, I think, in preserving that for us.

The Pin is HERE.  You will want to take a look at the photo.  The text on the Pin says, “Inks added to acrylic block, spritz with water, lay stamp over it and then stamp onto watercolor paper.”  Basically, it is making your own multicolor stamp pad.  

I bet I pinned this because I really like that stamp, which I recall is a Hero Arts stamp. I don’t have it, but I do have another in the same style and era.  I naturally grabbed that stamp to try this technique.  It is Hero Arts Silhouette Bells.

So, I followed the directions, as written... I decided to use Distress Inks, as I figured any dye ink ought to work (and probably many other inks, too.) Not so good results!!!


However, my experience told me to first apply Versamark clear embossing ink to the stamp, and then the homemade inkpad.  Much better!


Here is the card I made using this image. I finished it off with an embossing folder and a sentiment from Close to My Heart’s Wordfetti stamp set.  


This is not an exact technique and the results do vary.  The nice thing about watercolor paper is that you can just turn the paper over and use the other side, no problem.  In addition, for this next card, I got a good result for much of it, and then a blank spot on one part of the image, that I just cut off.  It helped stretch my stamp, too!


Of course, you don’t have to use an acrylic block for your surface, your craft mat might work just as well.  And you can probably use watercolor markers, distress Oxide inks, etc.  I think many people have expanded on this technique over the years.  That is the funny thing about stamping techniques, as the first person to post it on the internet might have learned it at a stamping party first, so we often don’t know who thought them up in the first place.  ANYHOW... I’m going on and on today!

Thank you for visiting!!
If you want to catch up on previous episodes, find all my Pinned It? Try It posts HERE.

I would love to enter this in A Blog Named Hero’s Stretch Your Stamps challenge, and CASology’s Water Challenge.


Saturday, August 24, 2019

Pinned It? Try It! Week 2: Perfect Pearl Galaxy Background

Hello everyone! Hope you are enjoying your weekend.  We are enjoying lovely weather today after a hot and humid week, then rain.  But today, I need to get outside soon!  I probably should weed my flower garden, but we shall see...

Here is the 2nd edition of Pinned It? Try It!  Here is a link to the Pin I am trying.  This pin is one of those frustrating ones that does not link back to someone’s blog, so if you happen to know the source of this technique, I would love to give them direct credit for it.  

The process is to use Perfect Pearls with a touch of water, using a stipple brush to apply it to your black cardstock.  


I made two.  I did not get the exact results as in the photo.  I probably could have lifted my brush more exactly straight up.  It also may be that my brush is just a little different.  I may have also used a touch too much water and should have first done my first brushing on scrap paper to dry the brush a bit.  All that being said, I think they turned out great!

The first background I made into this fun Halloween card!  I was inspired by my kittens who seem to stalk the funniest things.  


The second card I made into a Back To School encouragement card.  I used this layout to cover up a part of the background I didn’t like as well.  For this background, I did splatter on some white ink, and then added white gel pen, as well.  


Supplies:  Stampers Anonymous Crazy Cat stamps, Inkadinkado Creepy Lane stamp set, Our Daily Bread Designs (now Divinity Designs Shine On stamp set, Gina K Designs Inspiration Mosaic Stamp set, Versafine Onyx Black ink, Hero Arts Pool ink, Memento Black ink, Frantic Stamper Stitched Scene Builder Edgers dies, Gina Marie Designs X Stitched Circles dies, Perfect Pearls various colors, Spectrum Noir alcohol markers, Tombow Water Based markers, other items from my stash.

Thanks for visiting again today!  If you are new here, I hope you will consider subscribing.  For all my Pinned It? Try It posts, click here.


Friday, August 16, 2019

Pinned It? Try It! - Stenciled Gesso Resist

This is the start of a new blog series for me.  Have you ever pinned something on Pinterest, and then never got around to trying that idea?  I know — that is a silly question!  If you use Pinterest, I am sure you have done that.  

I am going through my pins and am going to actually try the ideas I saw!  My first idea came from this blog post from 2016: My Creative Rumblings.  Please check out Shelly’s card.  The basic idea was to use gesso through a stencil onto regular cardstock, let it dry, and then color over with watercolor crayons and blend out.   The gesso will act as a resist.  

I’m not sure what specific supplies Shelly used, but let me show you my process. 


First, I used a palate knife to apply Faber Castell gesso through a stencil.  This is a fairly thick gesso, but it is the same gesso I use to prep paper, so it isn’t as thick as modeling paste.  I let this dry completely.

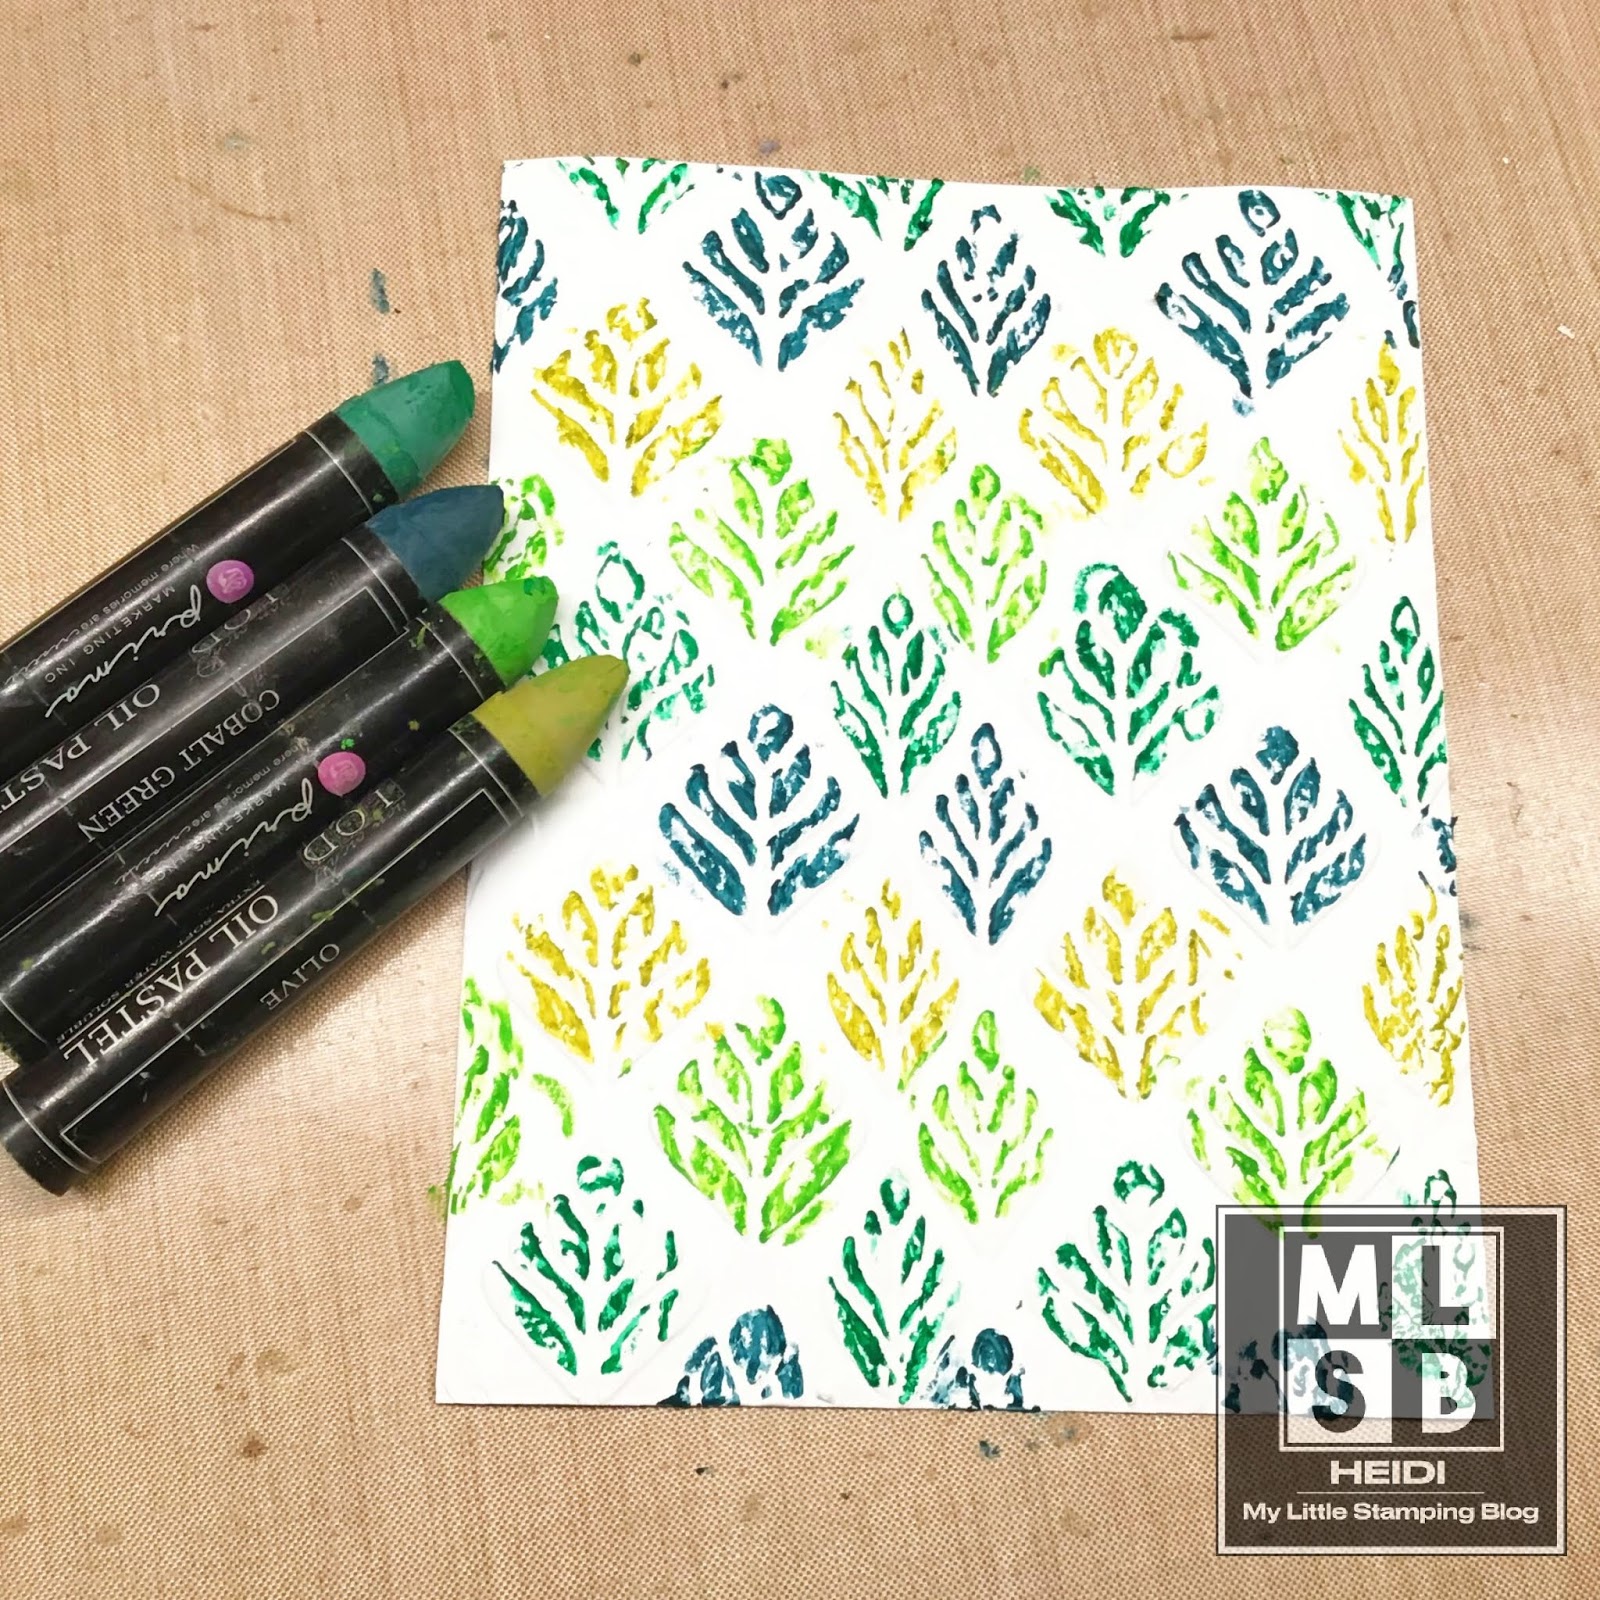
Later, I came back and colored over my stenciling with Prima Water Soluble Pastel crayons.  These are the only watercolor-type crayons I have. I like them because I can also stamp with them.  


I then spritzed each background with water, and then used a wet brush to move the color around.  I then wiped off the extra color with a damp paper towel. I used a light touch as I wondered if the stenciling would rub off if I was too heavy handed.  

These are my results when my background were still wet.  I like them both!  I bet I would get a better color blend if I had used watercolor paper.  But regular cardstock worked just fine. 


Here is my first card. I added die cut sentiment and some cute die cut stamps over vellum.  Then I cut tiny strips of glitter paper and used them for a border.  


The second card, I used a doily die cut I had in my scrap box.  I no longer own this die. I think I must have accidentally thrown it out.  I then added the bird, saying and some sequins to finish this off.  This card did warp a little. I should have let the background dry a little more completely before assembling the card. I have it under a book now to flatten it before mailing. 


Supplies: Hero Arts Swans and Cattails stamp and die set, Stampin Up A Happy Thing Stamp set, Close to My Heart Wordfetti stamp set, Memento and Archival black inks, DCWV Twinkle Glints 6x6 glitter paper pad, Creative Expressions Autumn stencil, Fabric Creations by Plaid doily stencil, Faber Castell Gesso, Prima Watersoluble Oil Pastels

I hope I have inspired you to try a new idea!  If you are interested in my Pinterest, here is a link.